
So, if the bathroom was a big job, the new deck was/is a HUGE JOB! We knew when we put in the pool, we wanted to (and kinda had to - since we tore up the old one) put in a new deck as well. We called one guy out to give us an estimate. To do what we wanted (a lower deck to hold our table and chairs and an upper deck for getting in to the pool), he quoted us... wait for it.... over $9000! Holy moly! So, with that. We decided to do it ourselves. And by 'we', I mean, Brad and my dad. Man...my dad has been more than a huge help. He and Brad have been at this every weekend since we put the pool in. I don't think they've missed one. They've been REALLY working hard at it. And that's an understatement.
Anyway, so with all credit given to them...let's get this post started. Again, I like to do things once complete. So here's project...from beginning to mostly end. :)
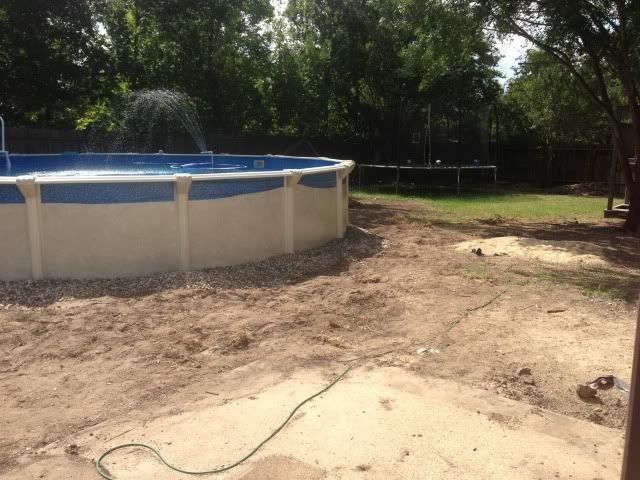
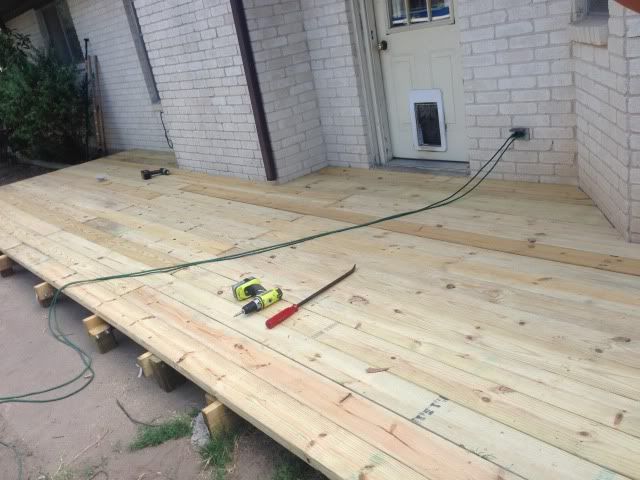
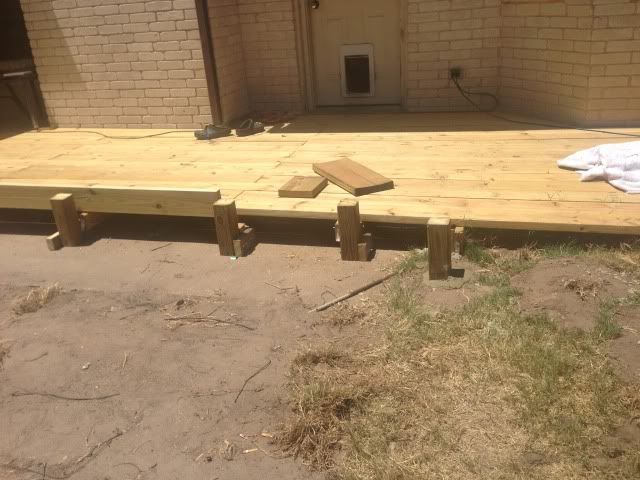
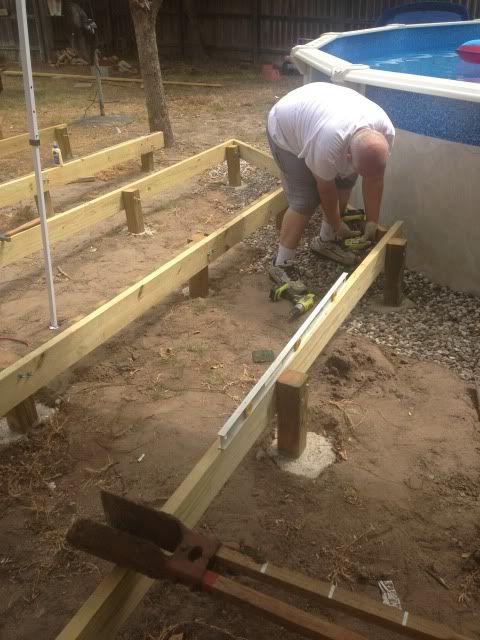
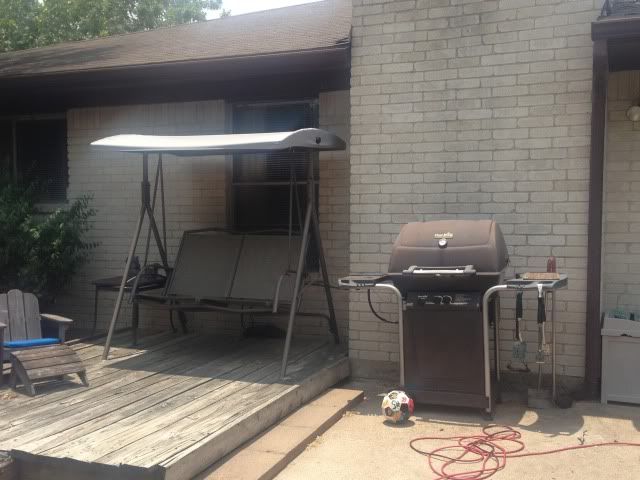
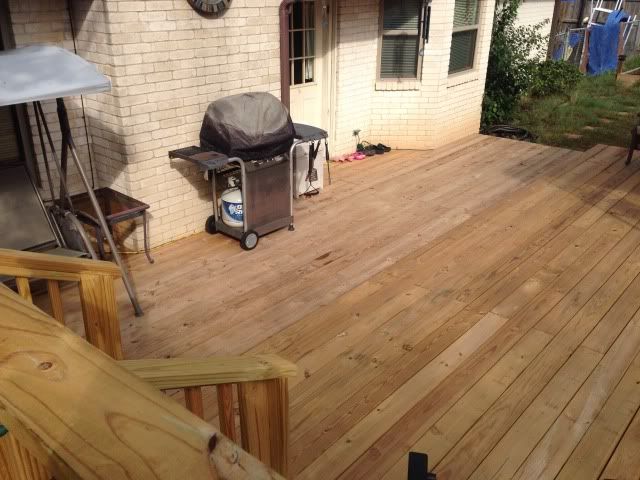
Starting out, with pool and previous deck torn out...
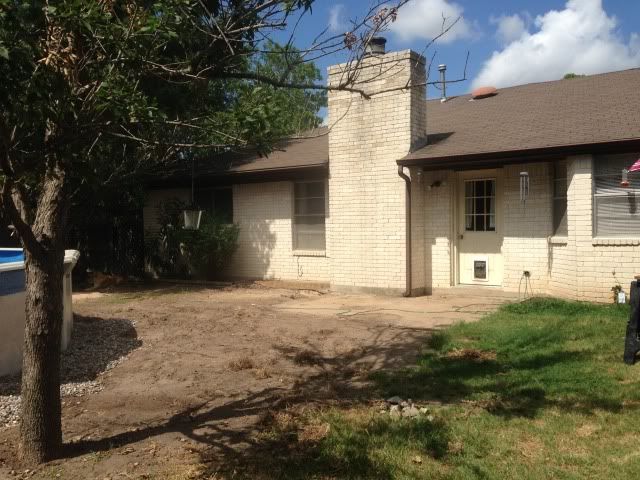
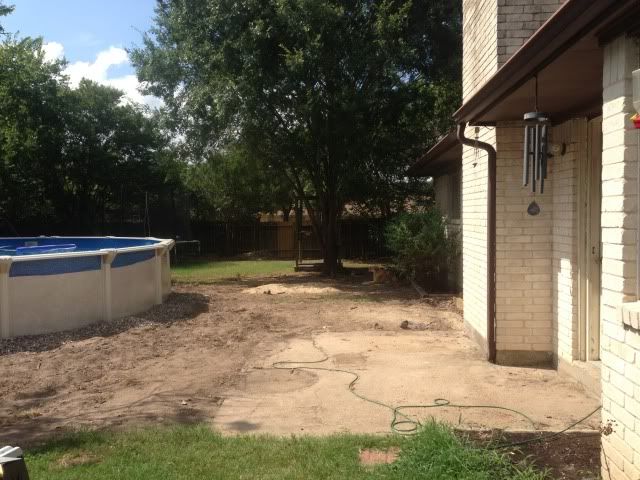
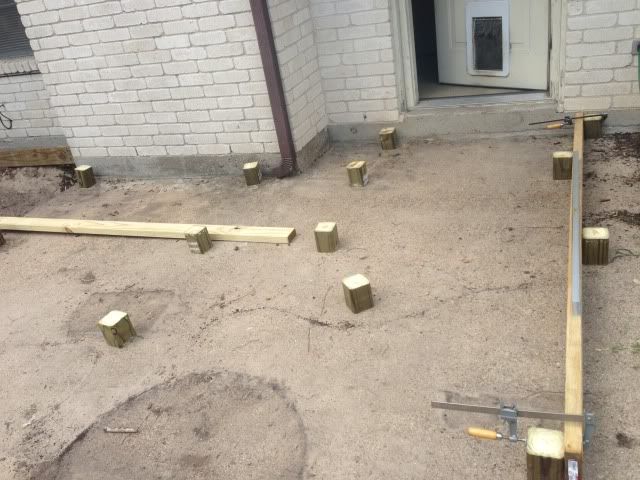
To accomodate our gazebo with table and chairs (and still have room to walk around it), we wanted to go ahead and extend the deck to the window in the back. Previously it had stopped at the slab.
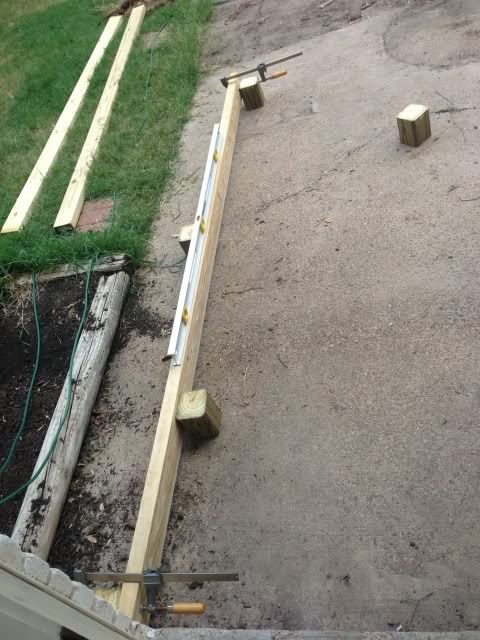
We also decided to actually make a 3 level deck. From a friend's advisement (who's an architect), we realized....if we made the deck (where we sat) one step up, we would actually be able to see IN to the pool versus just seeing the top of the pool. So the reason the first braces stop where they do is because that is where the step up was going to be.
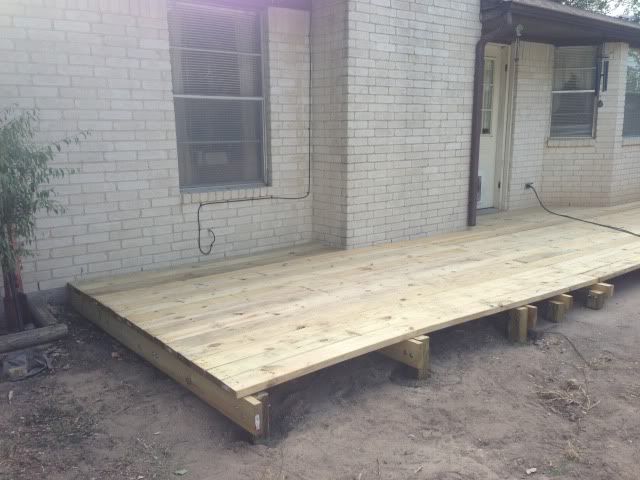
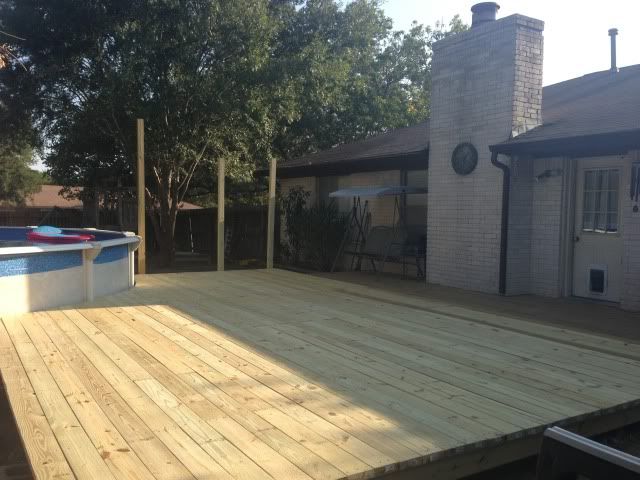
Every step of the process was so nice to have done. This first one - so nice! Love the clean-ness of it. Love how it 'fits' the house perfectly, around the corners of the windows and door and such. Great job guys!
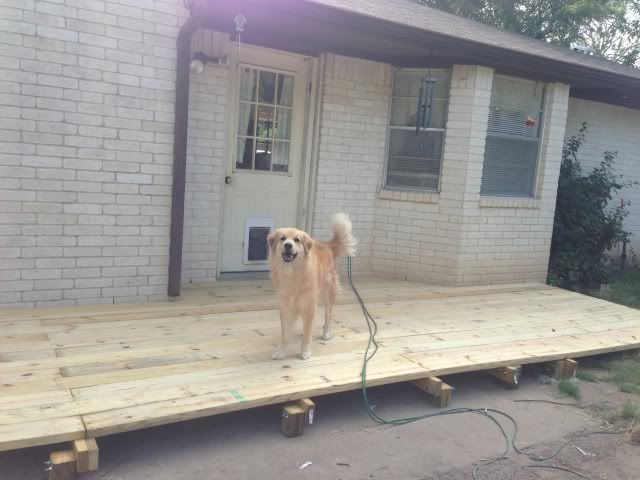
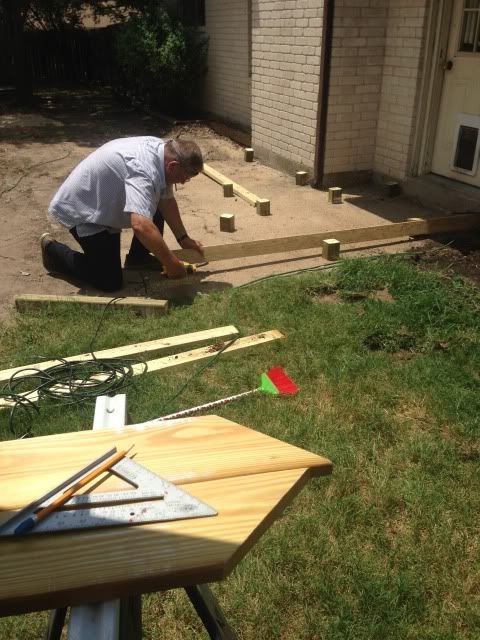
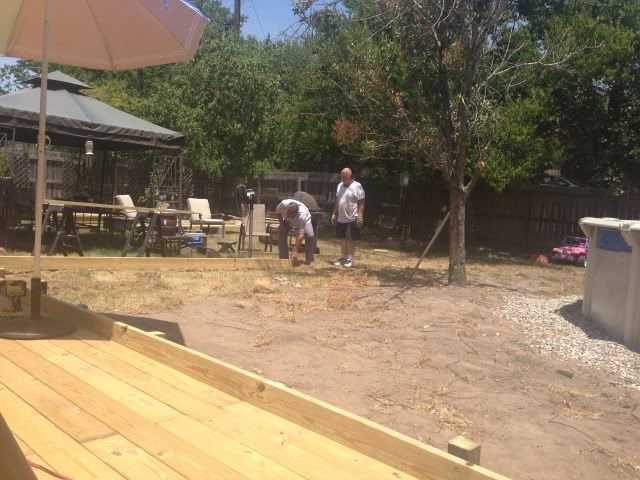
The next step was the step. Haha! And as you notice, this work going on through summer...our yard/grass begins to die. By next year, we should have it all back though. It's a process for sure. :)
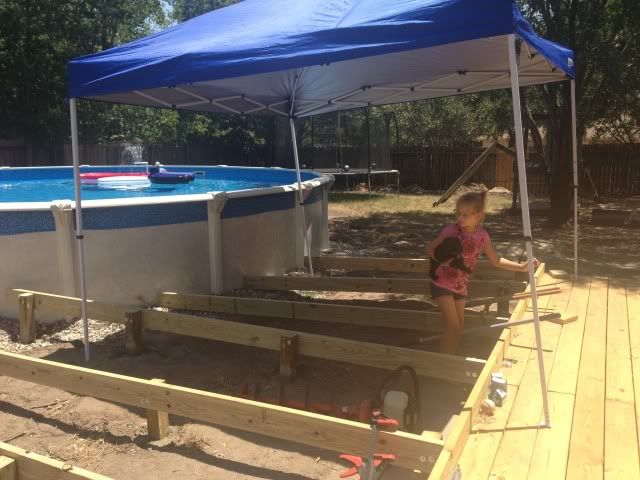
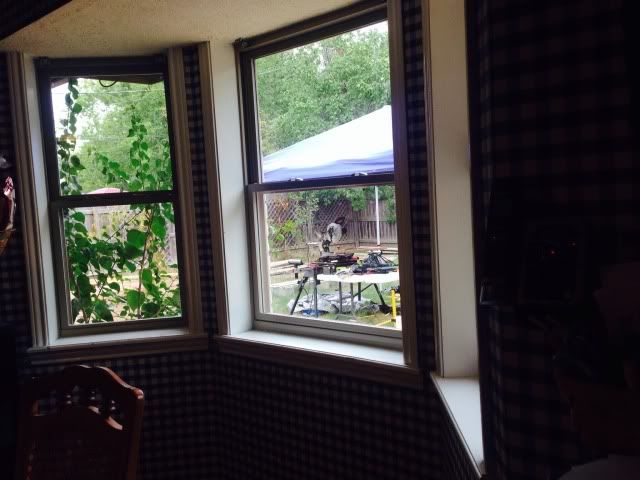
The area over to the side became their work area, for tools and such. We moved our gazebo over (off the original deck of course) and had it for shade along with a moveable beach umbrella and a pop up tent my dad brought. Working outside in the heat of the day mid summer is tough!
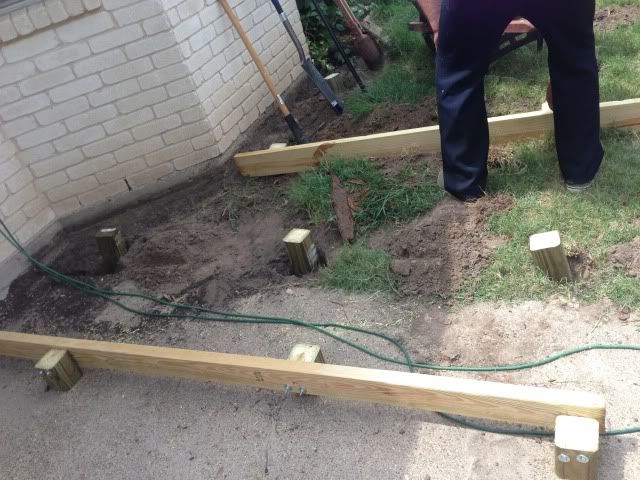
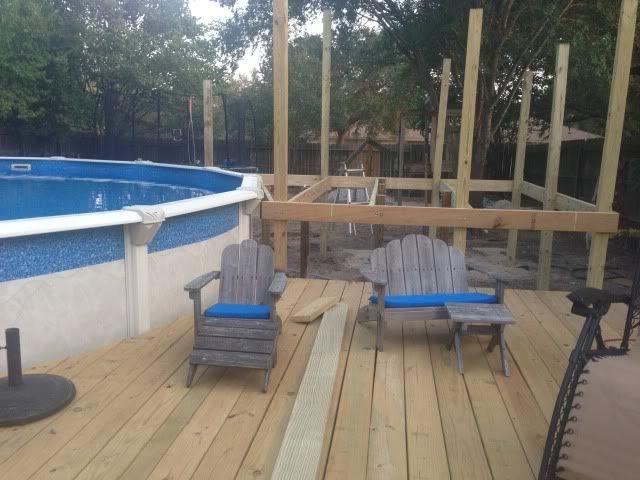
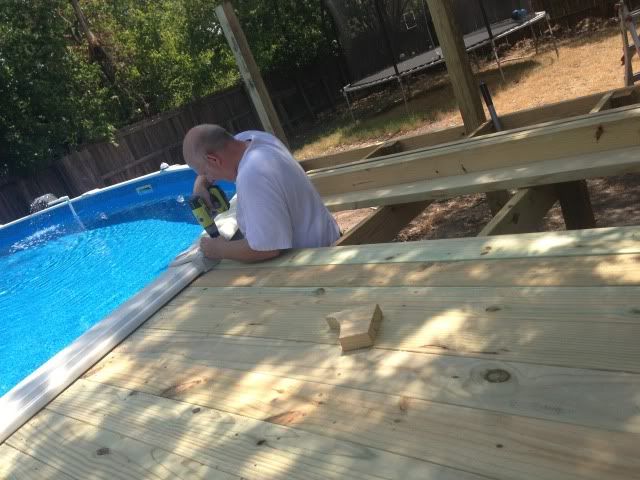
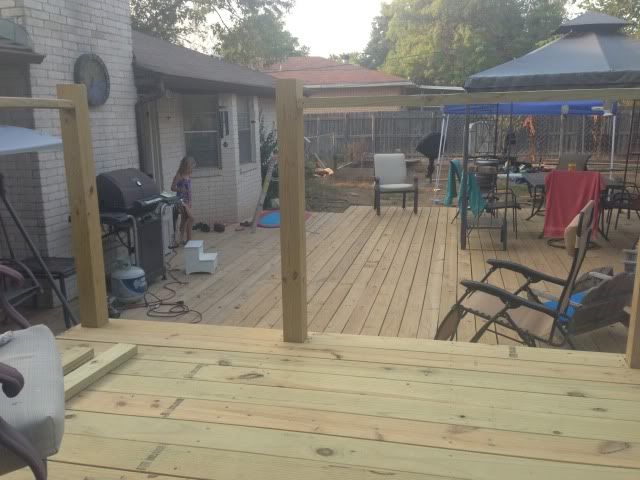
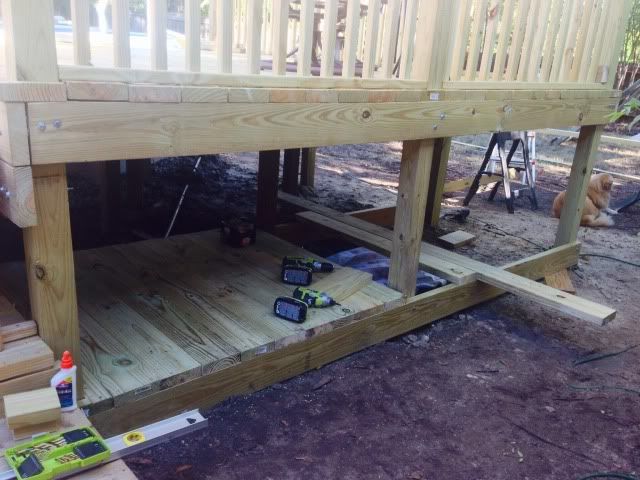
Next up was the next level. The first posts are braced up again like the first level, then the rest of the posts got cemented in. I've heard throughout the job the hardest part has been setting posts. If Brad never has to set a post again, it'll be too soon. :P
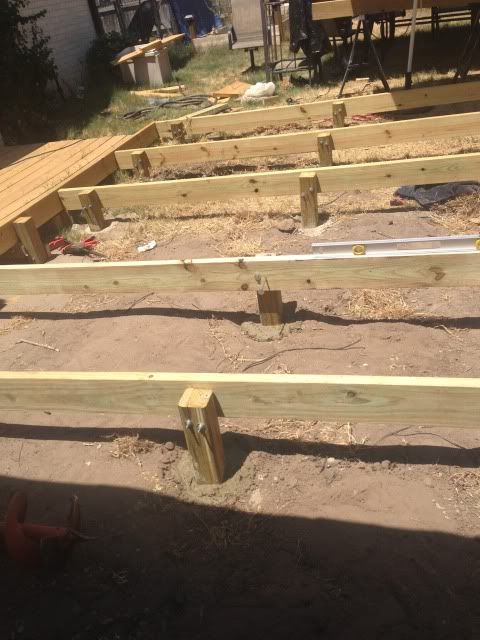
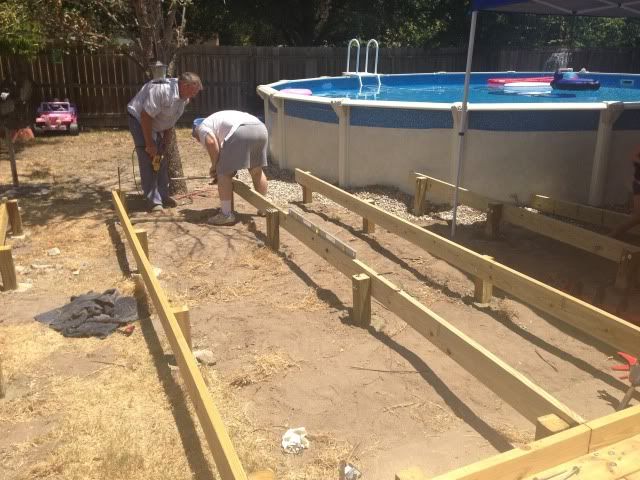
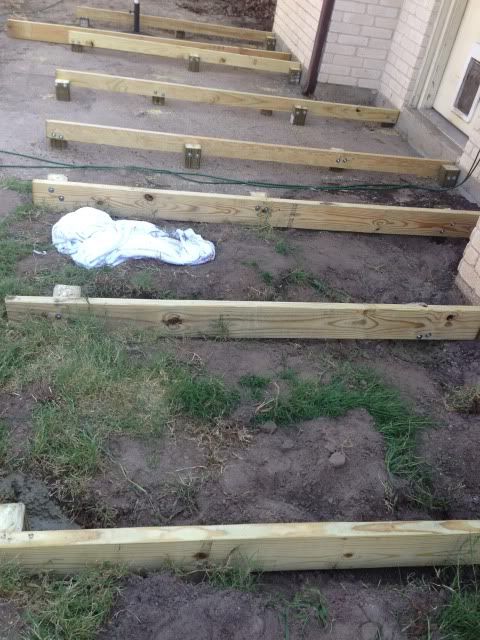
Look at alllll those tiny posts that had to be dug and concreted in the ground!! And that's just for this one level!

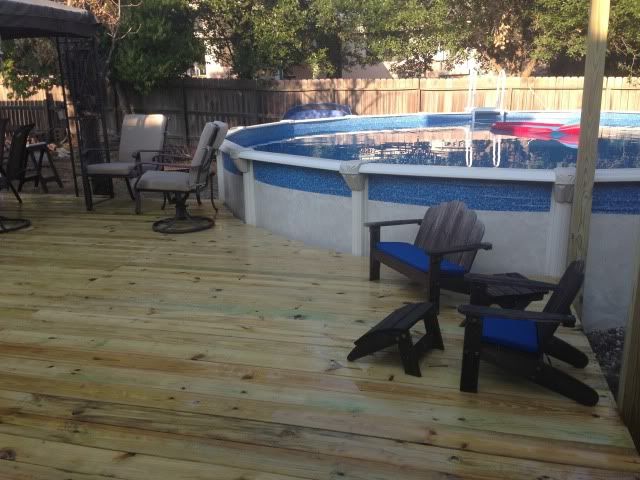
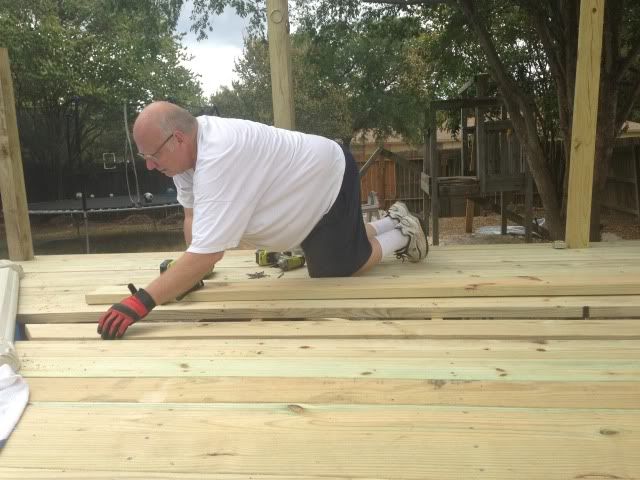
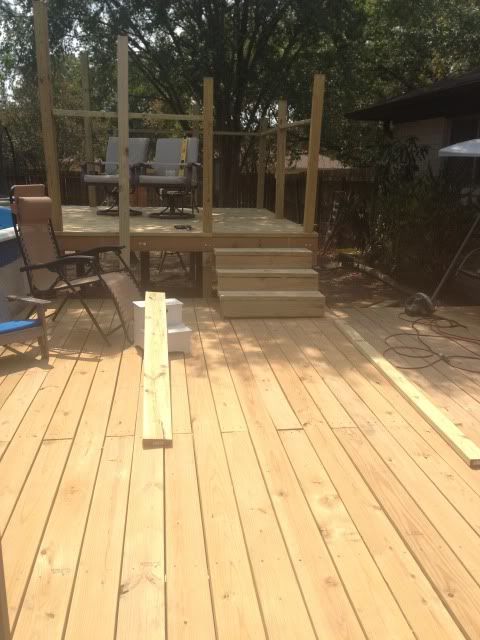
Putting on the deck boards is like the reward or the dessert for all that backbreaking work. ;)
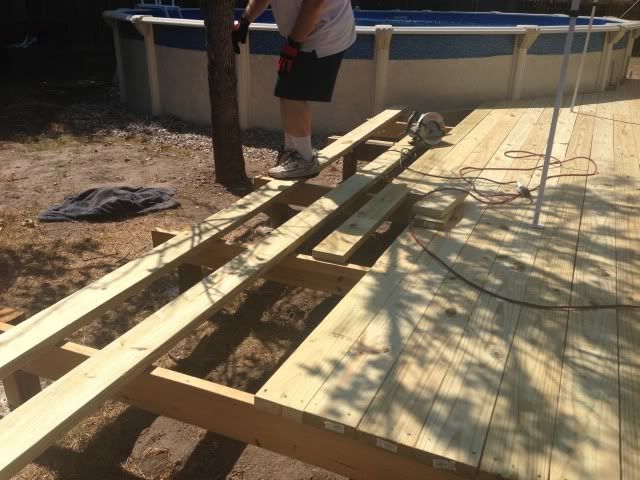
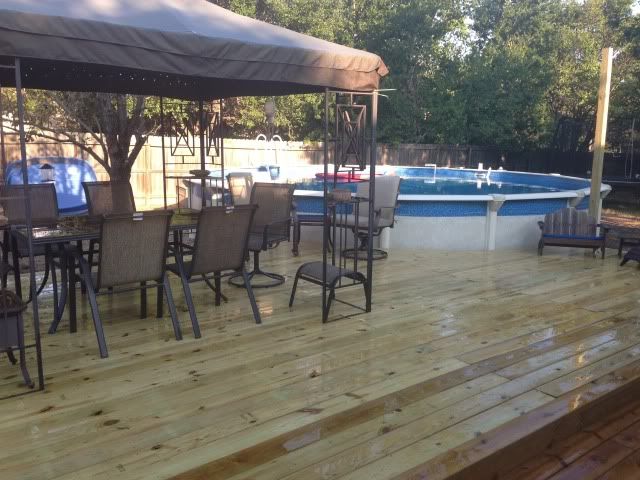
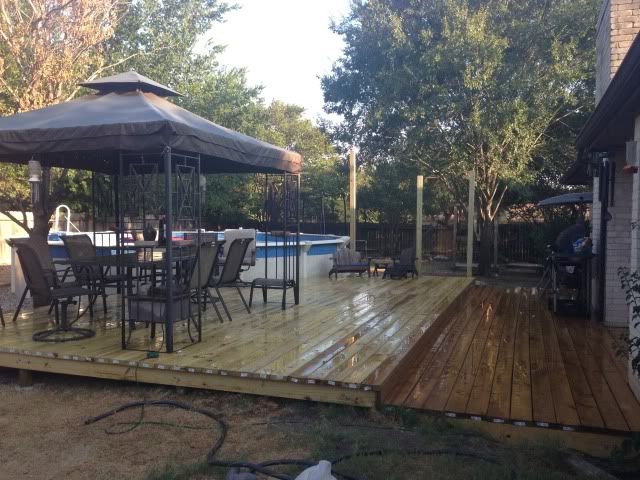
I told you! Nice, isn't it??? This level was sooo nice to have because, 1) it allowed us entry to the pool (at least for the littles) without using the dreadful wobbly ladder, and 2) we could put up our gazebo and table and chairs! We had a deck!

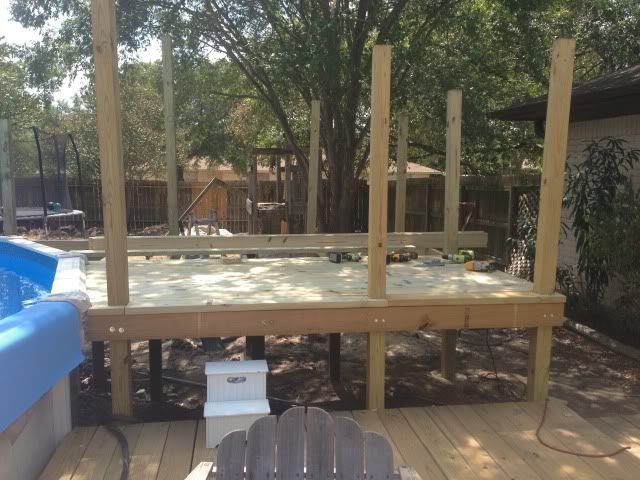
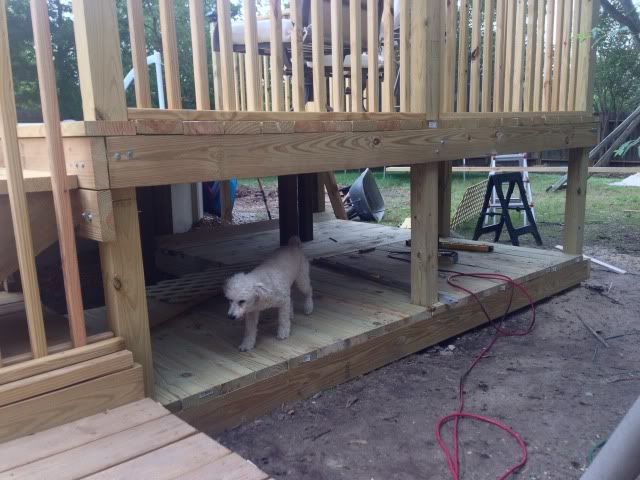
Those other posts sticking up were bracing the deck on one side but are also the first posts of the top deck in place. The vision is coming together! Eeek!
So, onwards and upwards. Literally. The top level deck needed posts cemented in as well. I'm not sure of total posts concreted in before we were said and done...I didn't want to count. ;)
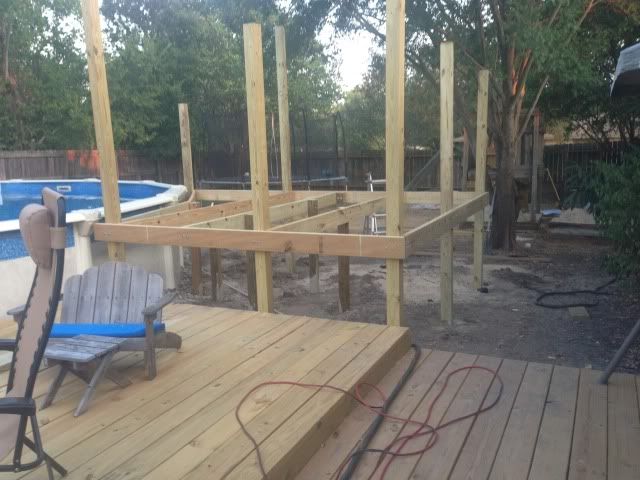
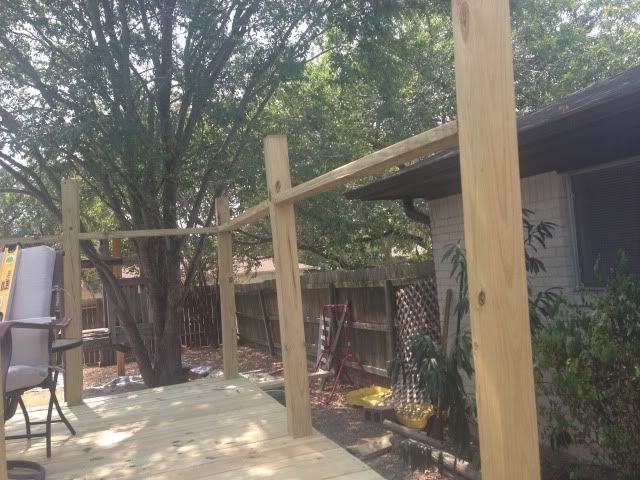
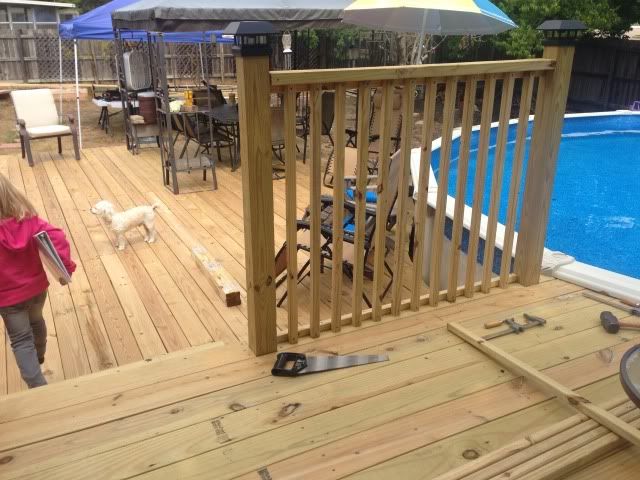
The braces went up as well. And what you have to remember is that they are definitely tall....but those are also going to be the posts for the railings that you have to have on a raised deck. The floor of the deck would sit level with the pool, but the railings will be taller.

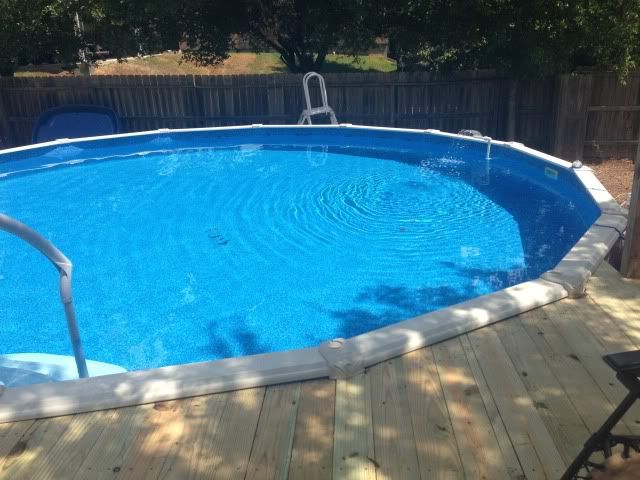
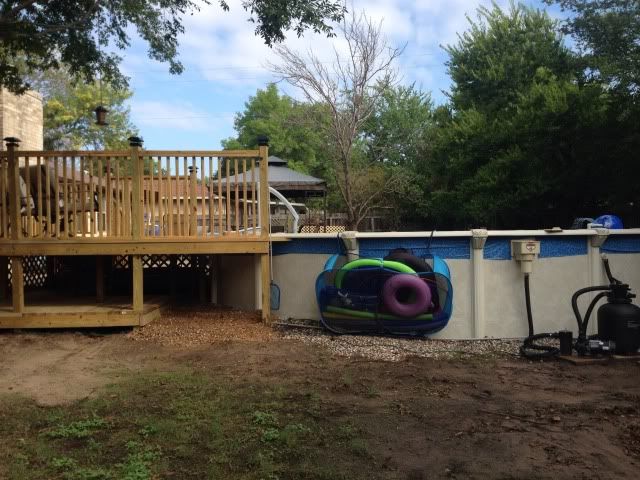
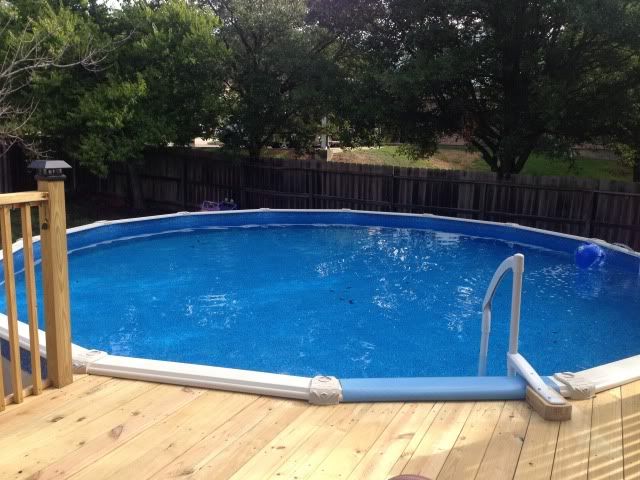
At the same time they were doing the top deck, we went ahead and ordered our pool steps to have the access to the pool ready. I had been harping and ready to get those steps. Sooo done with the ladder. They came in and it was quite interesting to get them in to the pool - haha!
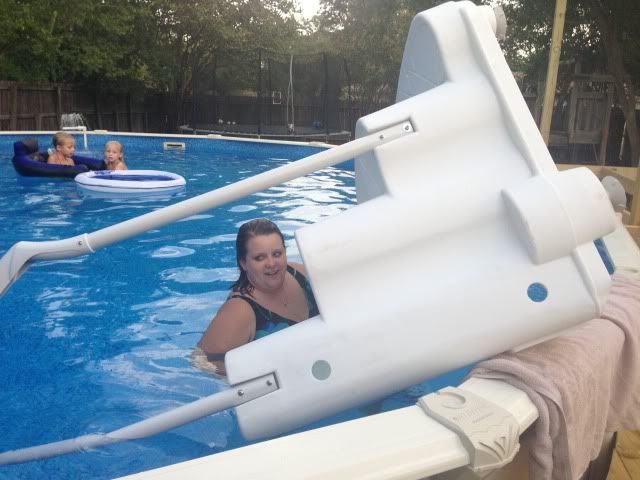
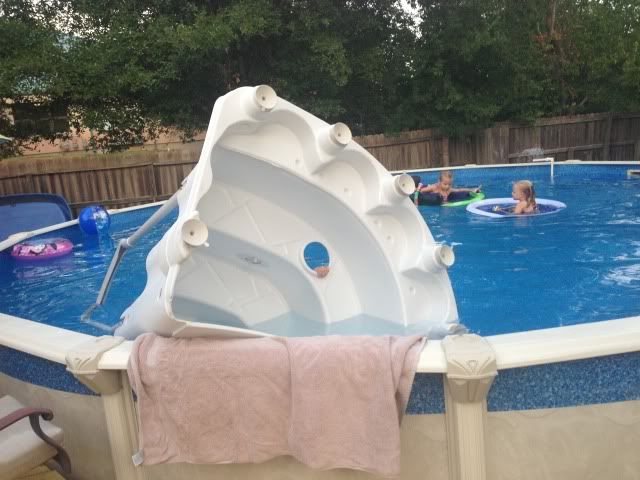
Again, soooo nice to have though! :)
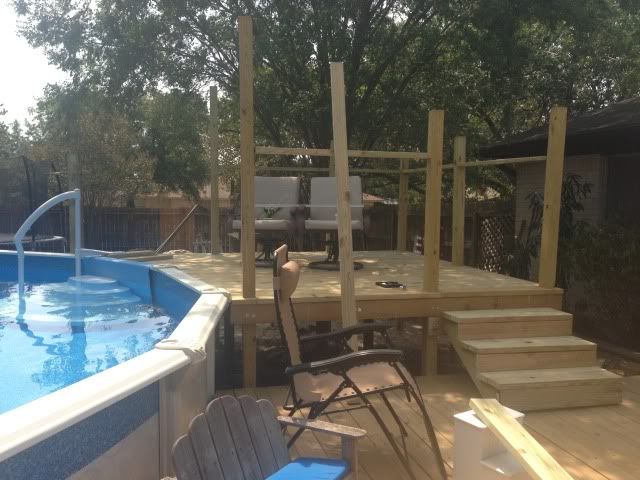
Now time for another round of dessert - laying out the flooring/deck boards for the upper deck. Soooo close!

We also planned it out nicely I thought. Our one and only real shade tree in the backyard is directly above this upper deck. For those people out just watching people swim. Nice.... :)
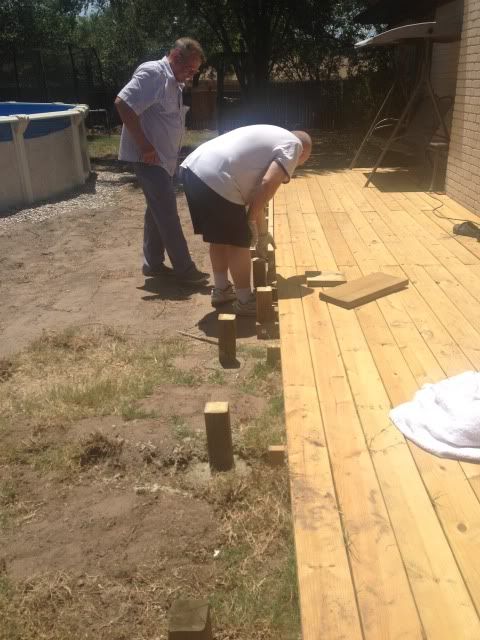
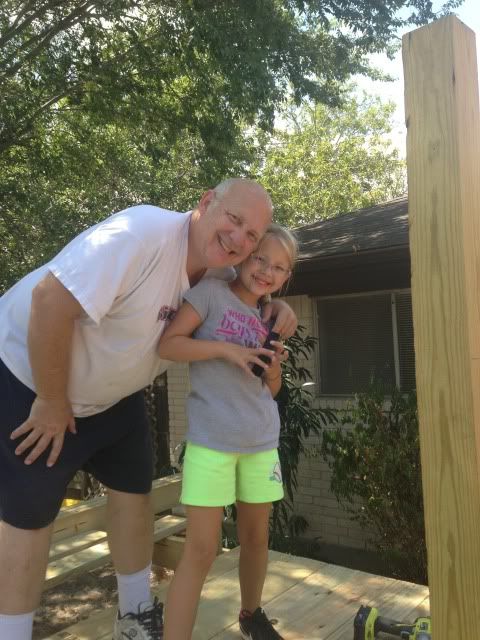
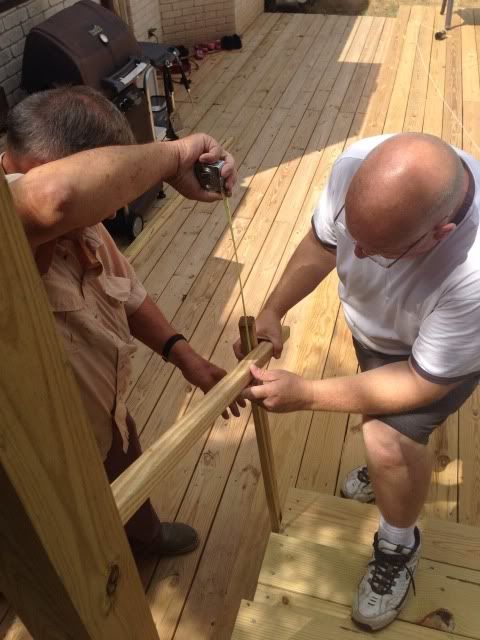
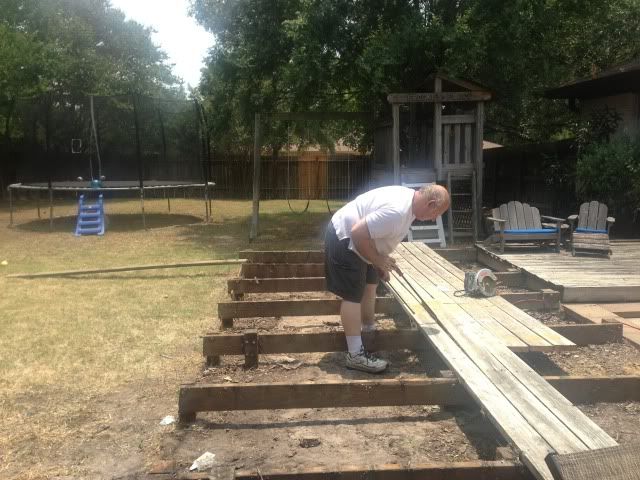
The next phase was the stairs. My dad had stair stringers already, but it was like a puzzle. They fit perfectly...however, trying to figure out what size boards to use was tricky. Not really. Just a puzzle. I love this picture of both of them pondering... ha!

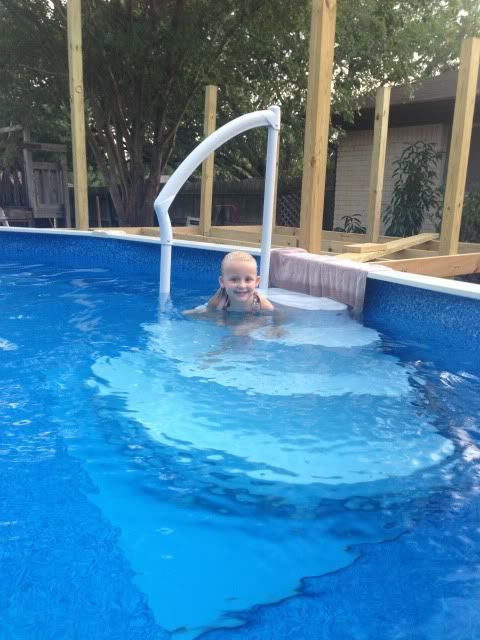
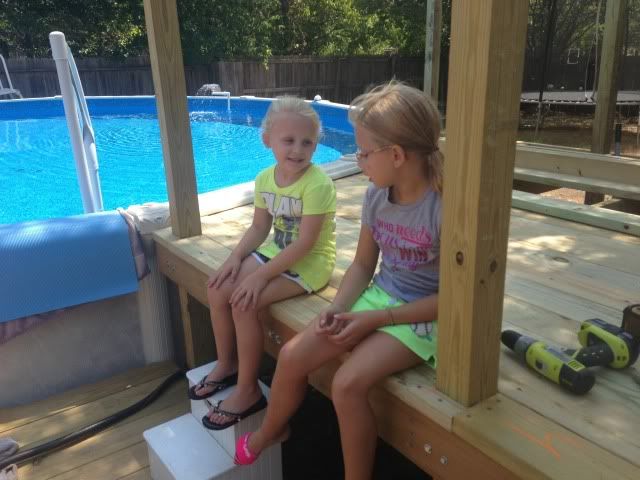
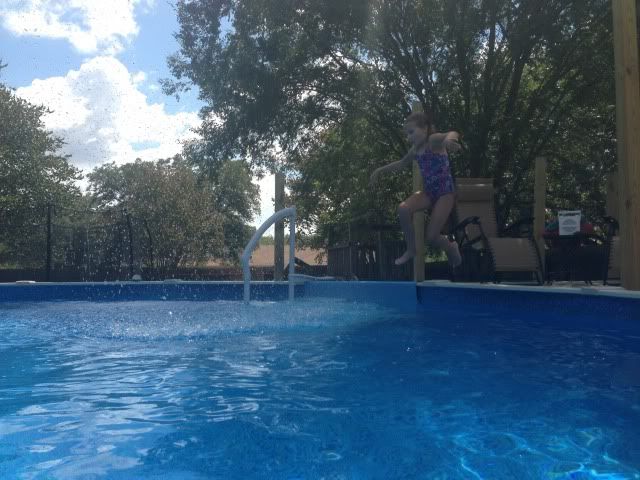
But in the meantime...man oh man, was it nice to have an entry to the pool.
(that pic was taken before we moved the pool steps over to where they'll be permanently)
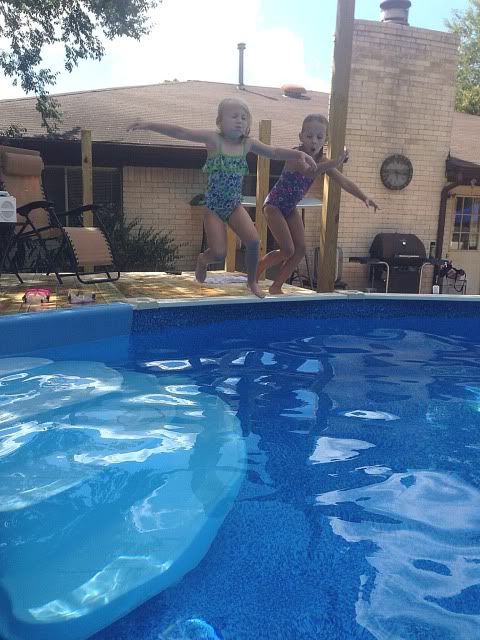
The kids love having a place to jump from now!!!

You might see a tip of a blue mat over there in that pic. We had originally bought it with the pool steps. Every review we found said it would help prevent damage to your liner the steps might cause. However, the steps we ended up getting have suction cup 'feet' that would not suction on the mat (the mat has ridges). So we ended up using the mat (for now) dropped down behind the steps to protect the backside of the liner where the steps might rub against the pool.
The view from up top...
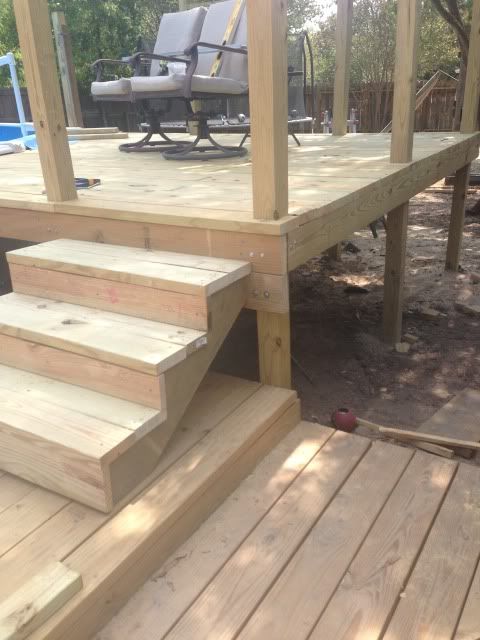
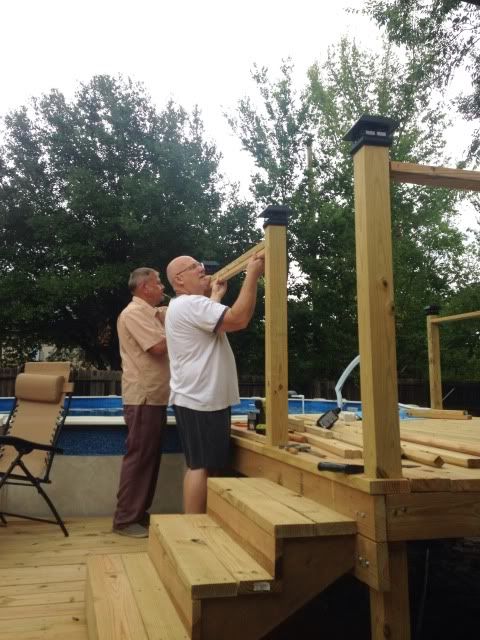
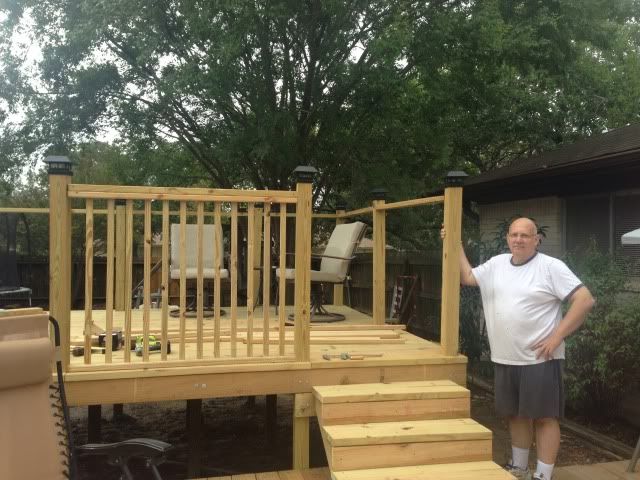
Next step was getting the stairs done to the upper deck and the railings. Two part process. First the stairs...
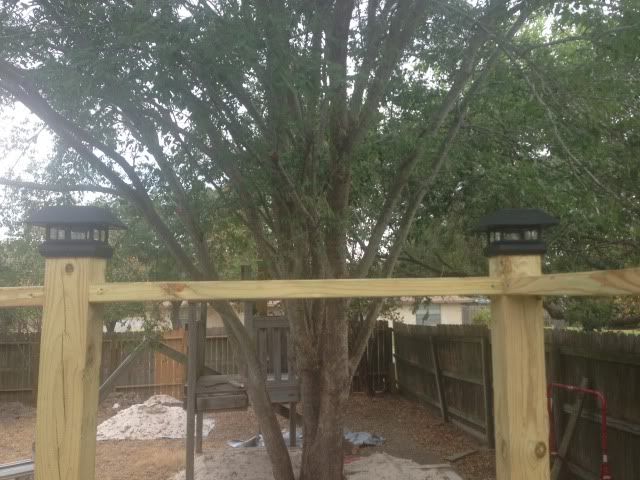
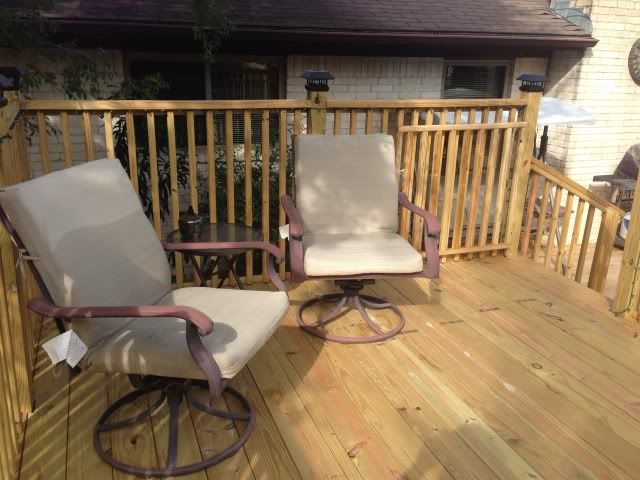
And then the braces for the railings. Remember the 2x4 posts are already there cemented into the ground. Add a 2x4 on top as a rail and then the ballisters attach to that.
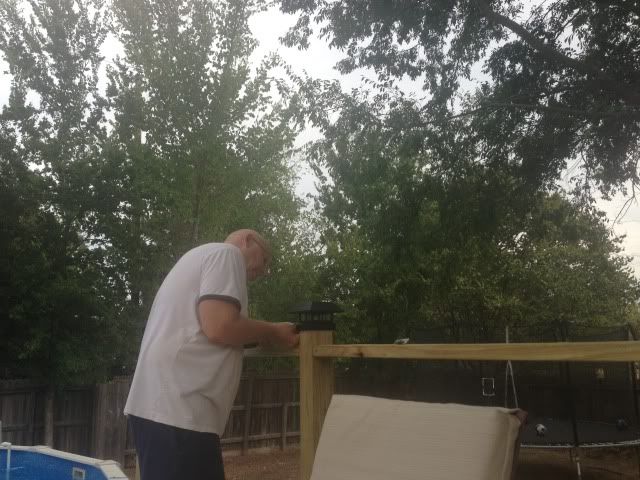
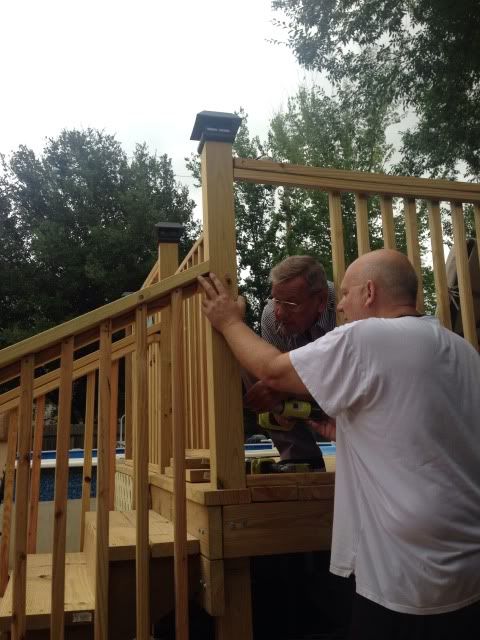
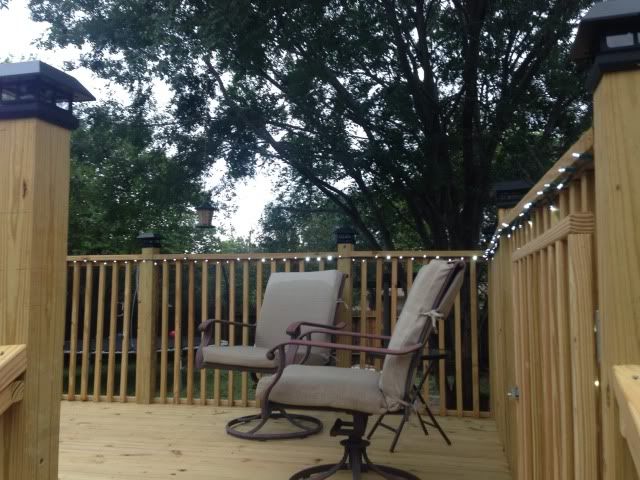
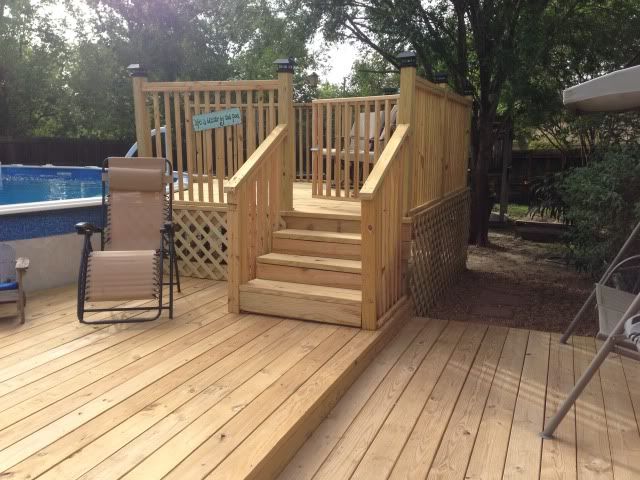
Once the tops of the posts were all cut even, we added post caps that also serve as solar lights
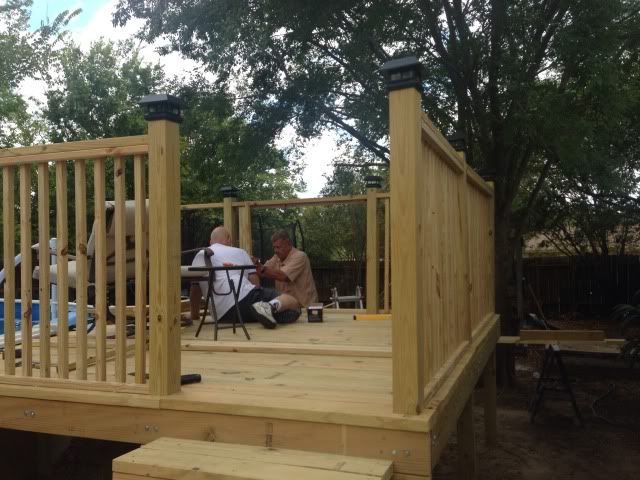
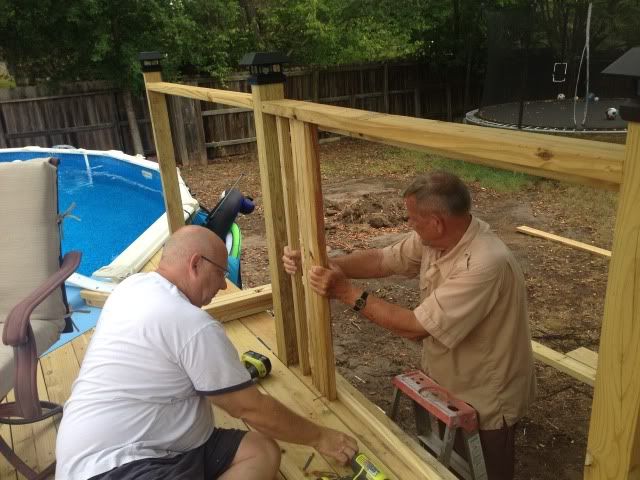
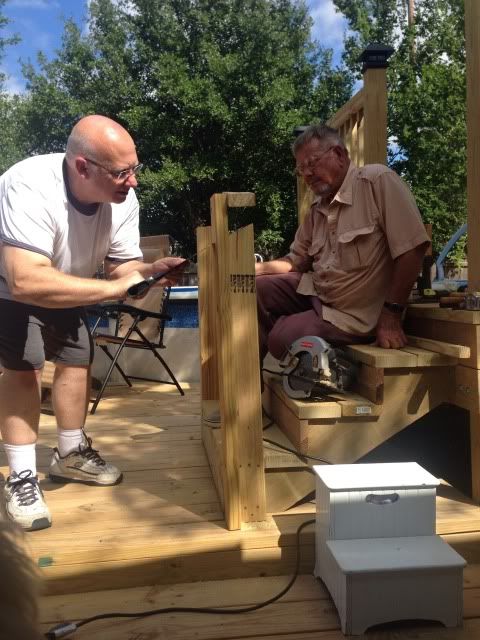
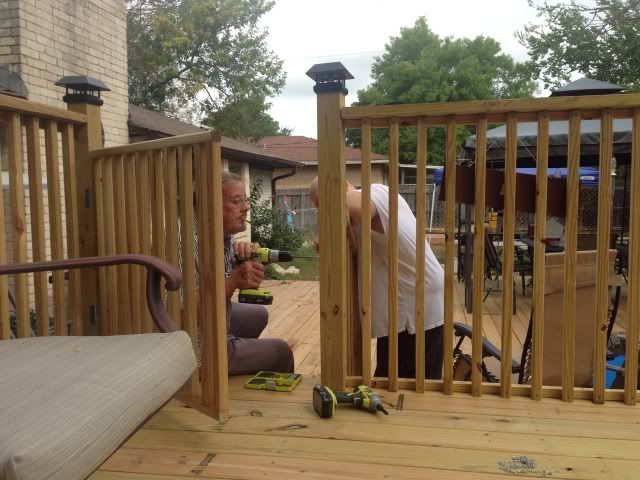
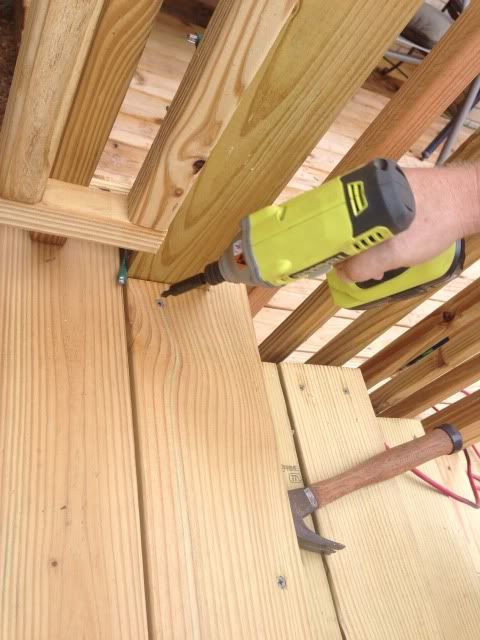
Putting on the ballisters went pretty quick actually. My dad pre-cut all the 2x2 'rails' so it was just holding it up, drilling them in place. He also made a 'spacer' guide so it took out the measurement factor each time. They were able to quickly put their space guide in between, put up the next one, drill it in, move on.

The next part was a little more difficult/time consuming - the hand rail for the stairs. Took some measuring and figuring, but it worked out nicely!
And voila!
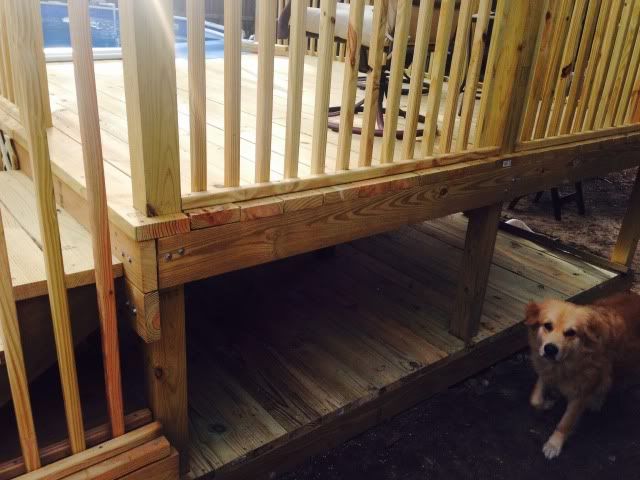
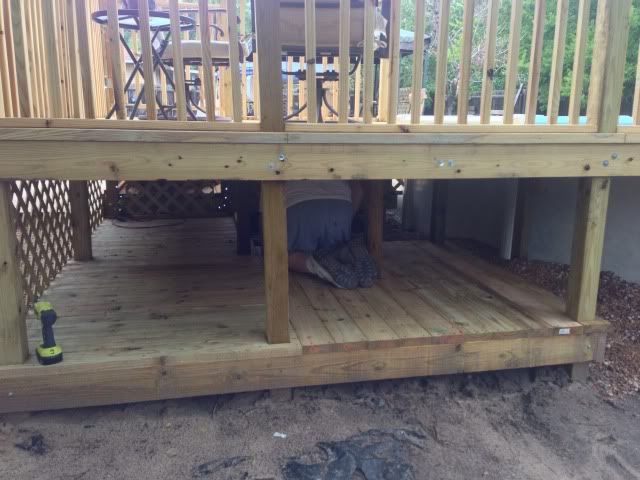
Before enclosing the underneath with lattice work, Brad decided to go ahead and buy a few extra boards and 'deck' half of the underneath. A couple of purposes - it makes it look cleaner - not full of mud or dirt as you look through the cracks (though the other half will be covered with leftover sand from the pool install), but also for storage. To store pool chemicals or whatever else. There backside will be open as well to be able to get into it, let the dogs get under as a 'doghouse'. We eventually might put sand on the side that is not decked. Barkley REALLY loves laying on sand to stay cool and we have lots of sand leftover. The girls also like to crawl under as a playspace. Or else, the last purpose - it could be a house for a little person? Ha!
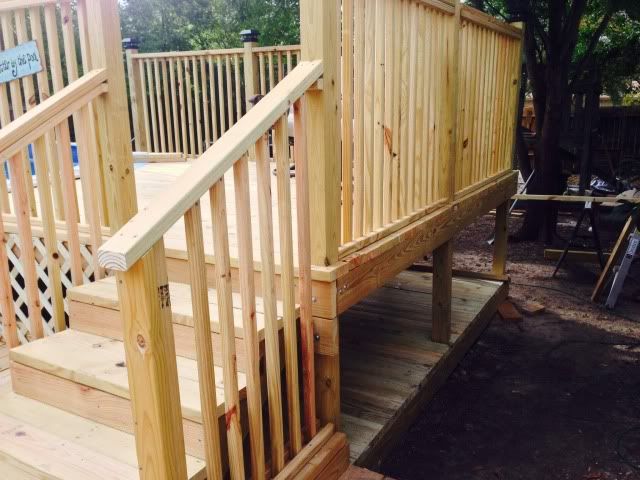
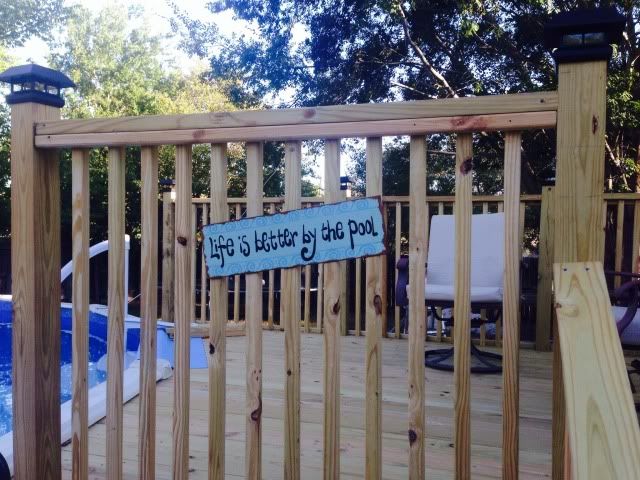
I found this sign and have been dying to hang it up. Love it!
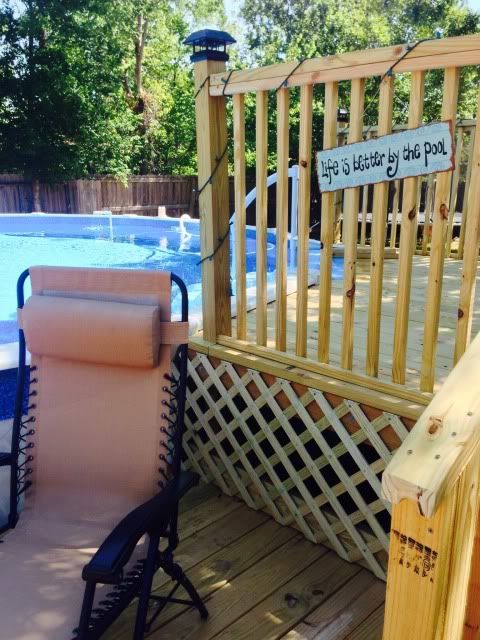
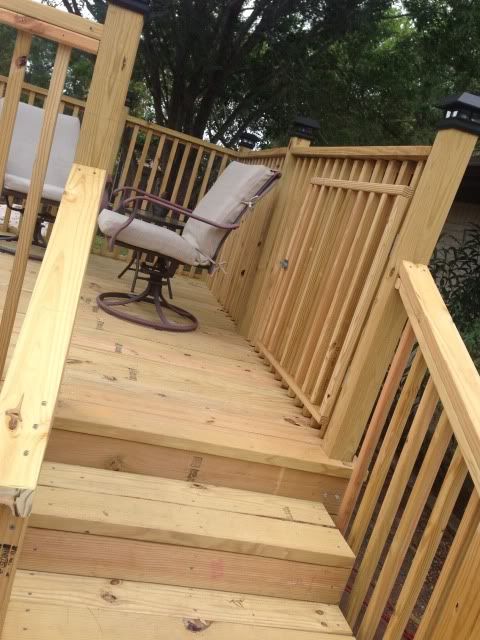
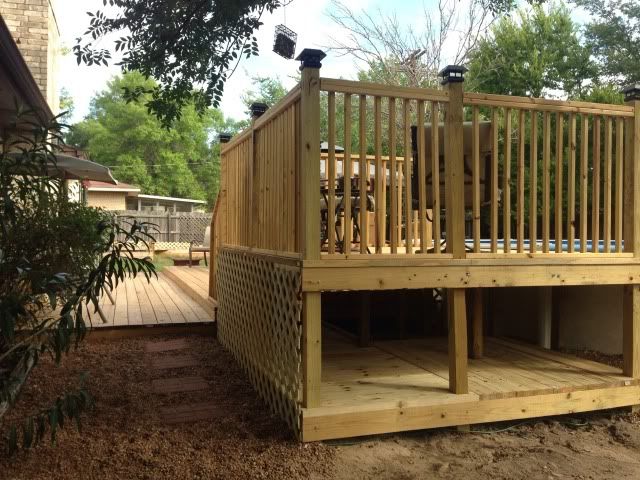
And the top deck is done. Then the lattice went up to pretty it up....

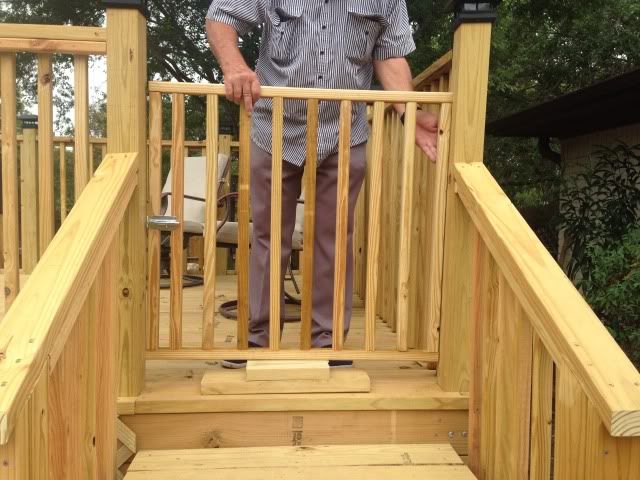
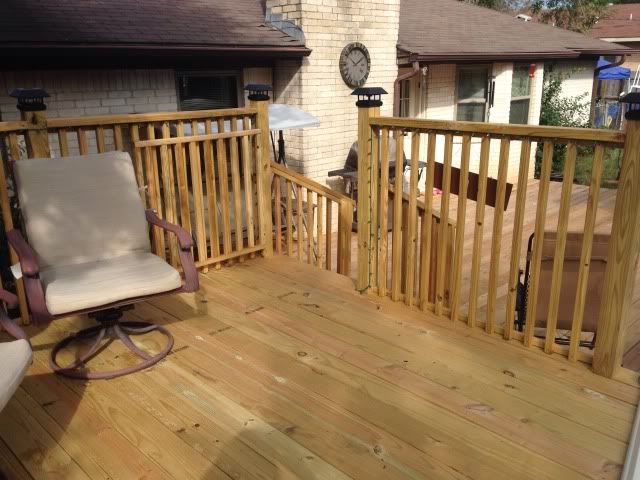
Mostly done anyway. My dad was insistent the top deck needed to have a gate. A gate that you COULD lock. Most likely we will leave it open 90% of the time. But, for liability purposes, we like having it there as an option. So my dad took the measurements the previous weekend and built the gate at home and brought it up here to just put it on the hinge.
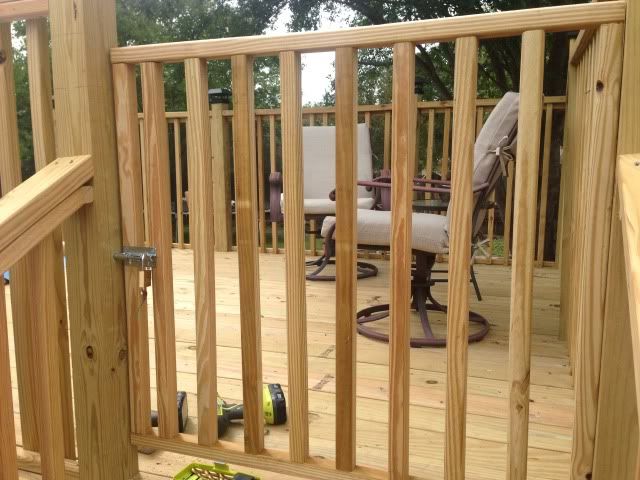
It also has a chain and hook so we can leave it open (most of the time will be open I'm sure...just need to have the ability to close/lock it)..

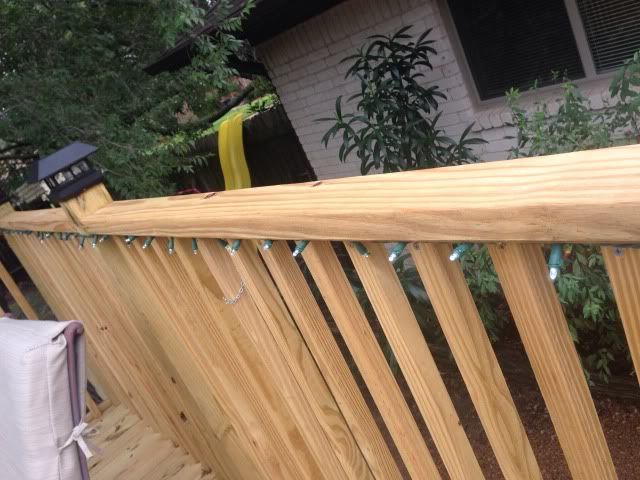
I also strung LED (Christmas style) lights to the top deck. We have some around our gazebo and it makes it sooo nice, so I knew this would really add to the top deck as well.
What I didn't know was how much work would be involved! We decided to staple them along the underside of the rail so it didn't poke out or interfere with leaning on the rail. It also would make them nice and straight and look professional. Ok. Sooo...stapling - it took two of us. I pulled them tight, Brad stapled ever so carefully as to not staple through the wire. Then he also cut (on purpose) the end of one string of lights and spliced it together with the next string to avoid the big mess of cord and plugs and such that comes with having to string together more than one string. On top of THAT work, while we were going all out and making it look nice, we wanted to go ahead and hide the excess, so we had to remove the top board of the stairs, drop it down in there, then Brad notched out a piece of the wood to allow the light cord to lay smoothly, then screwed the board back down (on both sides!).
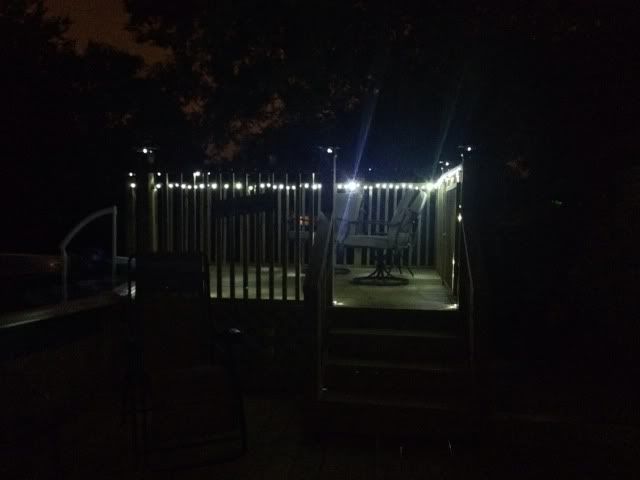
But it does look really nice... and its so bright up there now you can read a book by the light! LOL
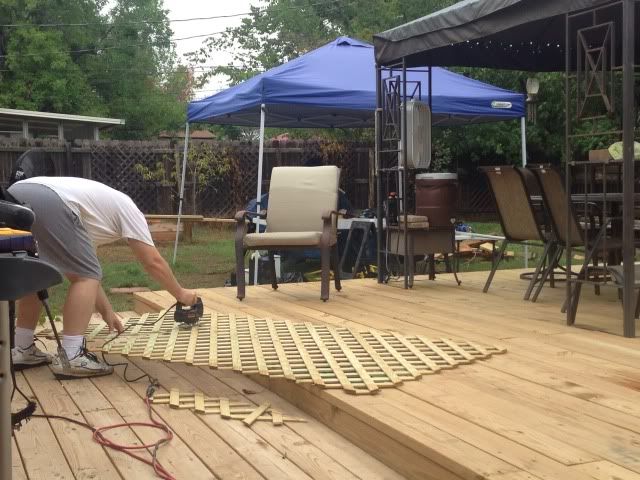
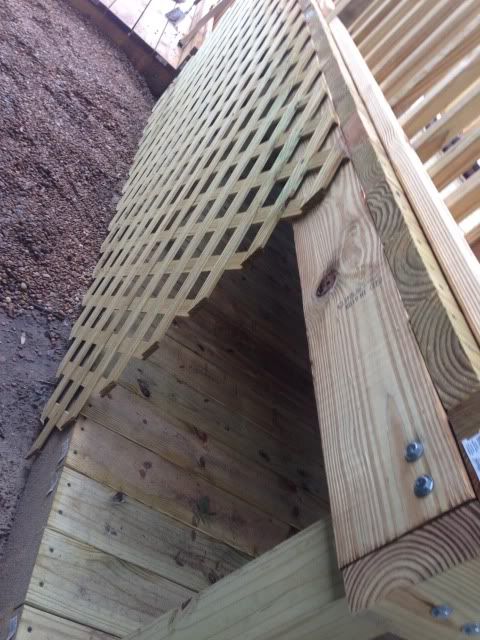
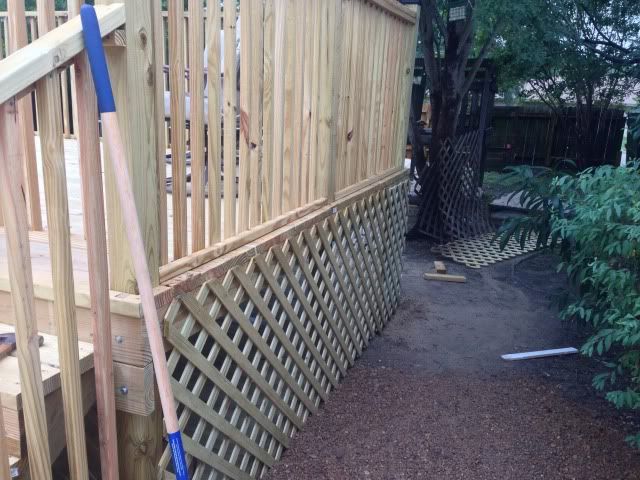
Then he enclosed the side of what we are now calling the 'basement deck' with lattice work. Again, always more work than you imagine. Cutting lattice (especially the thick lattice that we got to ensure it would hold up well) is no easy feat.
Minor sidenote - another portion of the last (work) day was spent putting back together the girls swingset. Remember the big move? Well... it never got put back together - until now. And there's still some minor repairs to the playhouse part. But they sure enjoy having their swings back in action again!
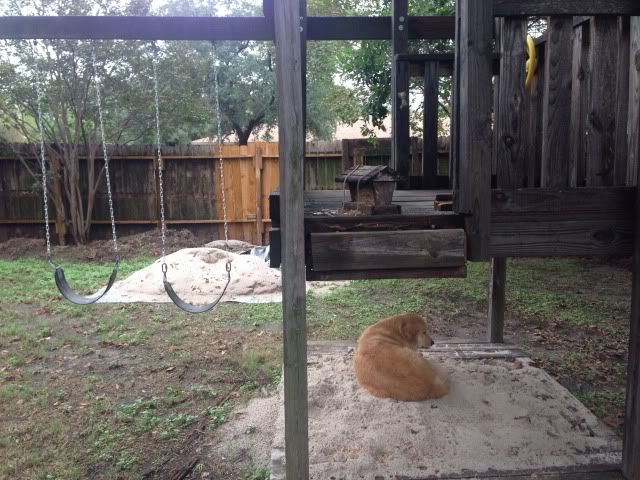
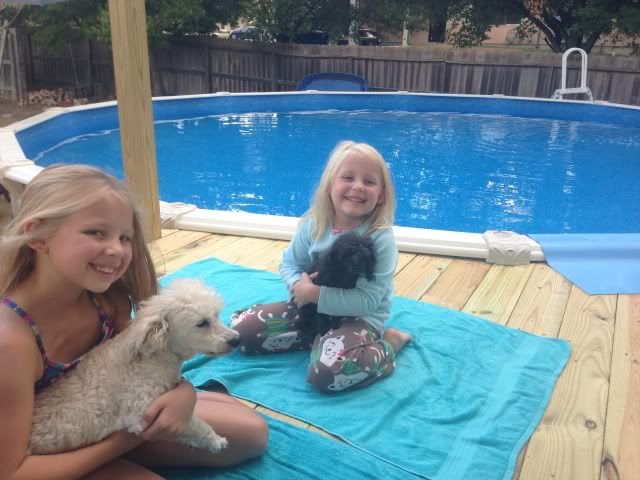
I told you Barkley loves laying on sand. And that we have tons of sand leftover still... ha!
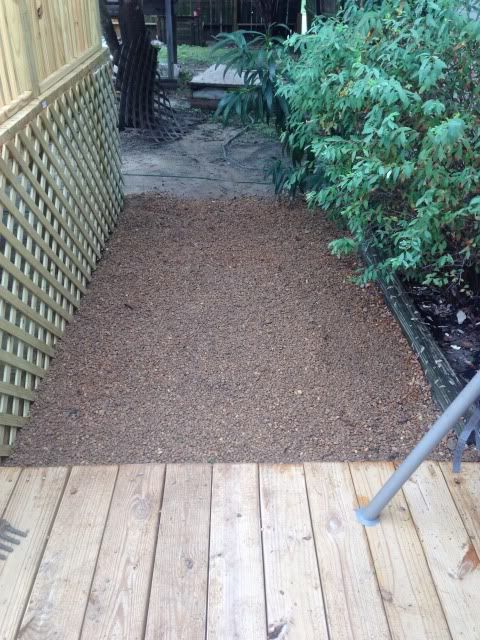
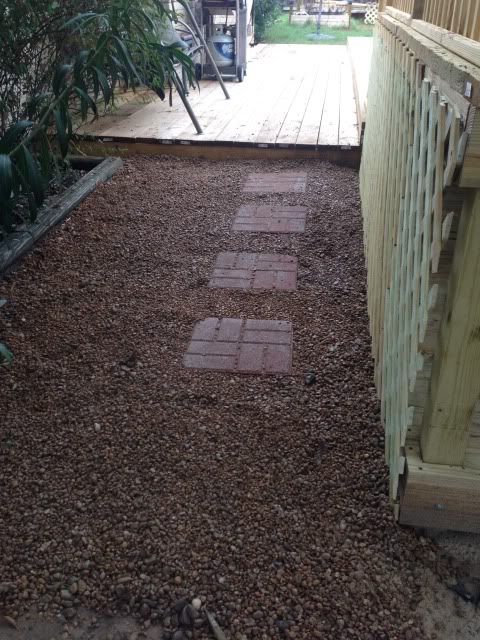
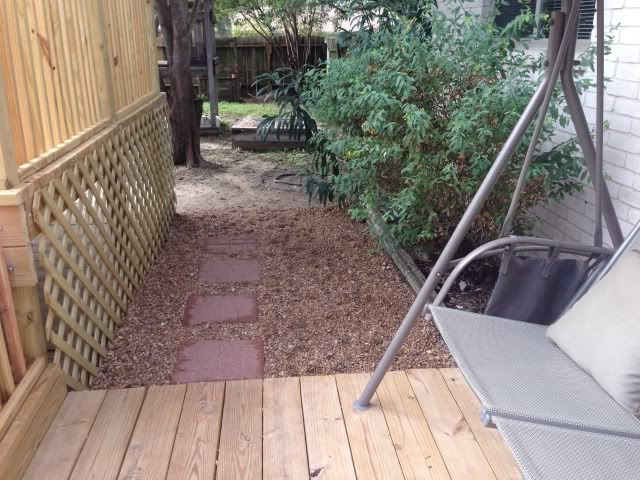
Ok. Back to the deck, etc.. So we then wheelbarrowed over a bunch of the extra rock we had leftover from the side yard. We figure now, with the top deck blocking the sun, we will for sure never get grass to grow there anyway (it never did to begin with!), so might as well take away the mud factor and lay down rock and pavers.
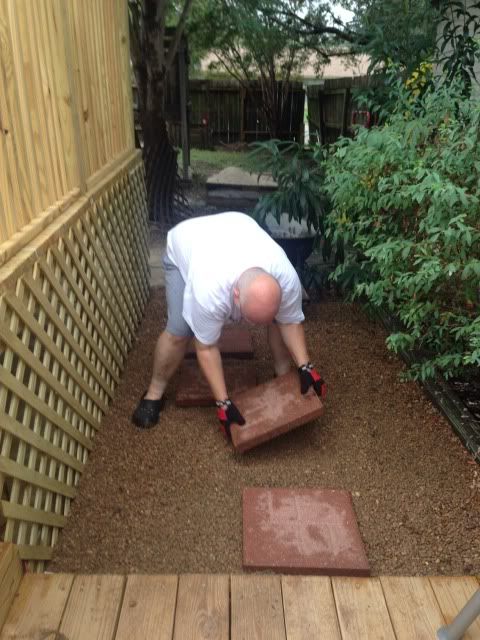
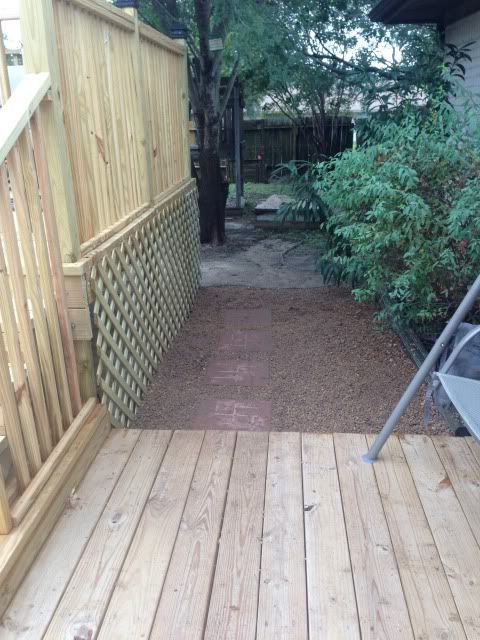
The pavers are the same (matching) ones as on the other side of the deck that leads to the garden. We would like to eventually get two more (one for each side) as it feels a little 'short', but I think it makes it look way nicer as a pathway to the 'yard' where the swingset/trampoline is, etc. :)
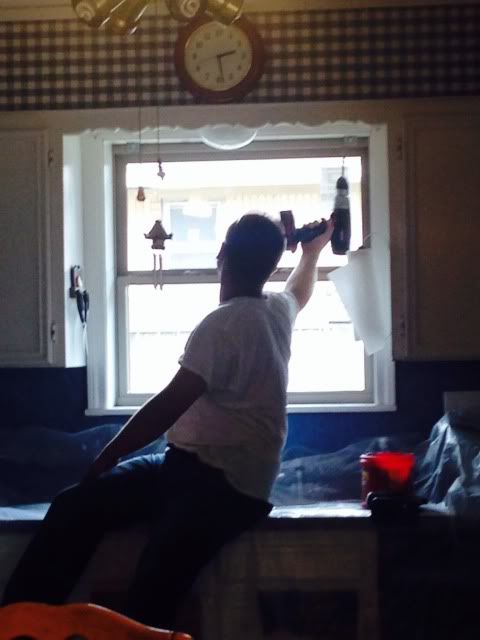
Another side note - last week we got new windows throughout the house! You know...like REAL windows that you can see out of it, open up and everything? It's awesome. And you know what's really cool? Watching them take out (I mean, break) the old windows. Maybe some people's don't break? But when the windows are single pane thin as paper and were put in in the 70's? Yea...shattered as they came out. I kinda wish they would've at least let me throw a baseball through them or something? :P
New windows are thick and insulated and sooo nice.
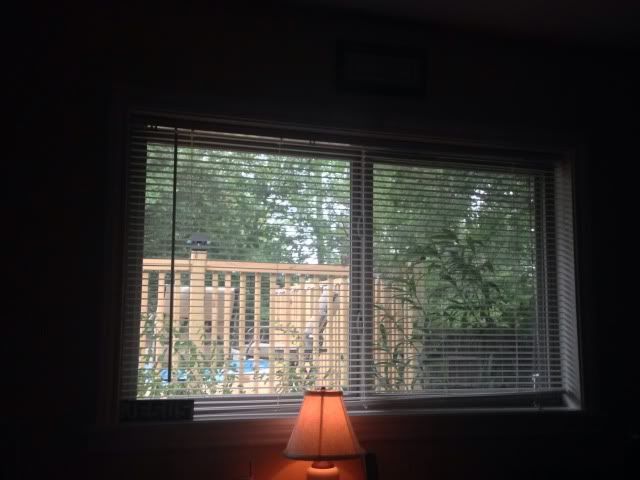
Our bedroom window looks out onto the top deck now (see? nice segway to back to the deck huh?). Love. :)
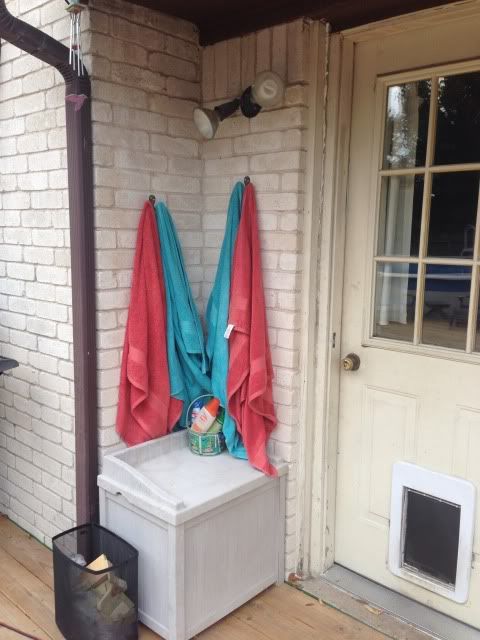
And yet another finishing touch to our backyard/deck area? I got tired of traipsing in and out of the house wet or with or without wet towels and what not. So we hung two double-sided towel hooks (holding 4 towels total) that always will stay outside. From the picture its hard to tell, but they are located under the small covering that the corner gutters provide. I couldn't wait to test it out and this past weekend we got a whopping 5 inches of rain (serious. not exaggerating) and throughout all the pounding storms, our towels hung, dry as a bone. Perfect spot! Always there, always ready when you need them and easy to put back when you're done. :) Also, inside the deck box underneath are all the pool small toys - goggles and dive sticks and such. We have a big net that attaches to the back of the pool that holds floats and bigger things, but this was perfect for the small things.
Soooo...dare I say it?
The deck is DONE! Check it off the list.
There are a few minor things (touch ups) that we will do in the future. We plan to seal it which may involve a built in stain (not sure yet if it'll be colored or just water sealant). We also might add a step down on the 2nd level deck to the ground. Only for safety - should you choose to walk off the deck on the backside. Just to have. We eventually plan to build some sort of shelter or covering for the pool pump and filter (possibly attached to the deck?). And add in the sand to the underneath to give the dogs a cool spot to lay and make it look beachy? :P Next Spring we will get the rest of our yard back up to shape. We let it go and now it's a lost cause...but in the Spring we can replant grass and such. Those kind of things. There's always *something*, right?
But for all intents and purposes - the deck is DONE. Have I said that yet. It's done! Done. Done and done. It took 10 work days. Seemed like much more...I guess mainly because it was spread out on working on the weekends only. 8 Saturdays, 1 Sunday, and 1 random Thursday my dad had off. Of course there was some digging holes during the week that Brad did - soaking in water, digging a little, soaking in water, digging some more...and a few things my dad did at home and brought back (the ballisters on the rails he pre-cut and the gate he made at home), but basically - 10 work days. I can't tell you how super proud of these guys I am. And how super proud of the deck I am! I mean, it is way beyond awesome. I thought when we sat down and decided to 'do it ourselves' that it would look like we did it ourselves, ya know? But...no way. It looks professional. There is not a single thing I would add or change. No regrets. I love everything about it, from the design to the location, to the small little factors they took into consideration. I just like to go out and sit out there now. We still have half our yard, dispersed on two sides of the deck, so the girls still have their swingset, we still have a garden and a place to run and play (softball). And we have a swimming pool to boot! When we bought this house, a big factor that we loved was the yard. Now... that likeability factor just quadrupled in my mind. Our backyard is pretty awesome. :)
So, final picture. Once again, here's a before (and sorry this is the only pictures I thought to take...as Brad was tearing out the old deck)
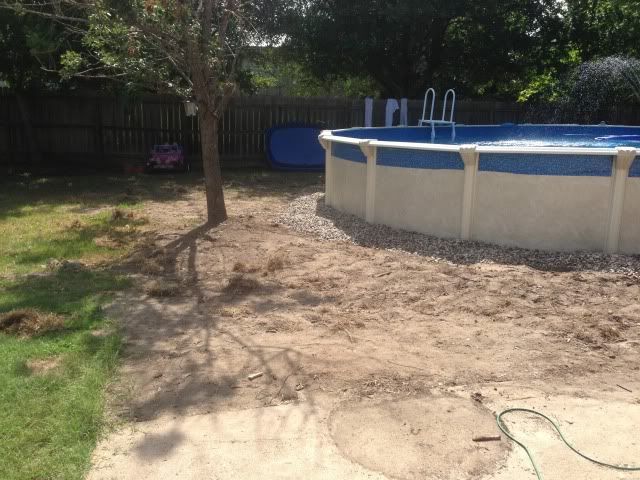
Another before, after pool but before deck....
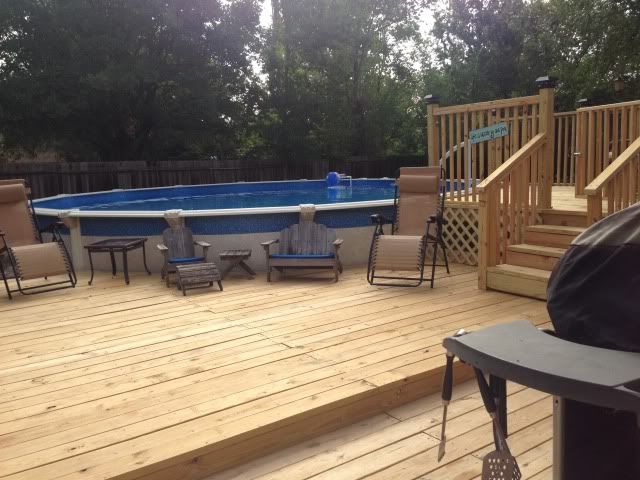
And the after....(sorry, lots of pictures because it is so deserving!!)
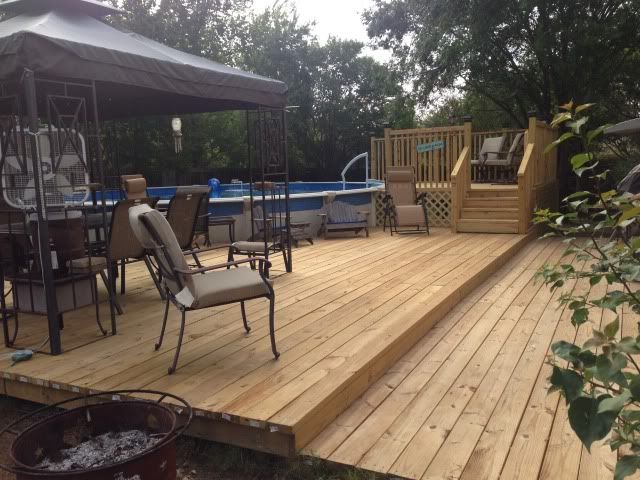
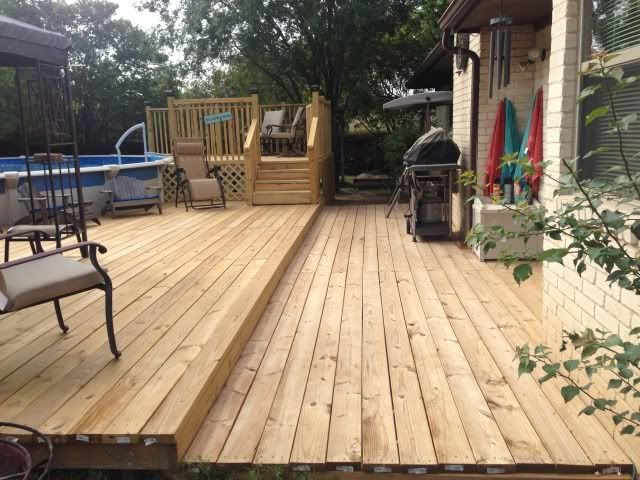
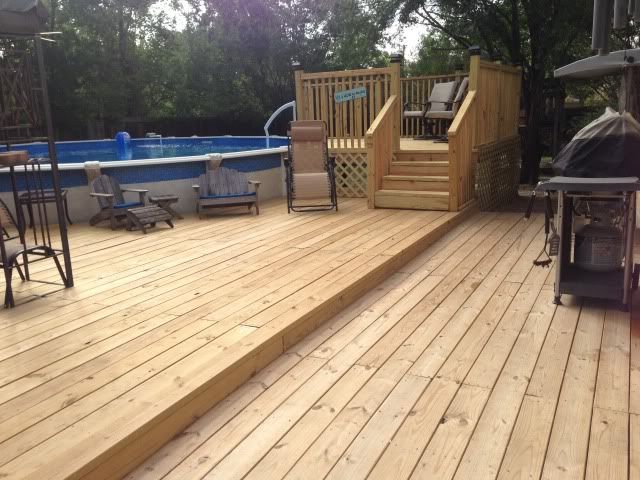
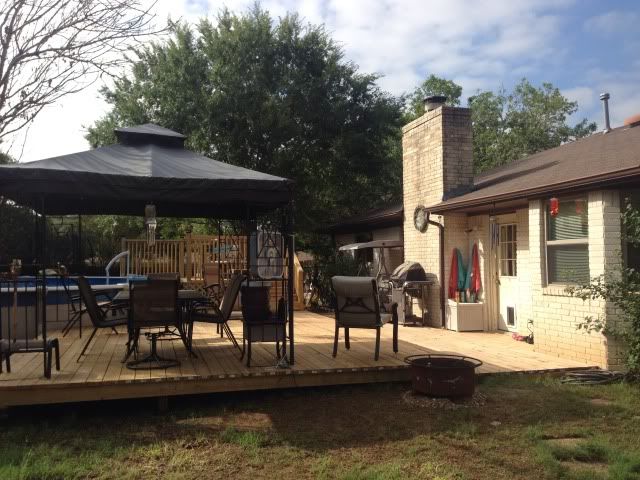

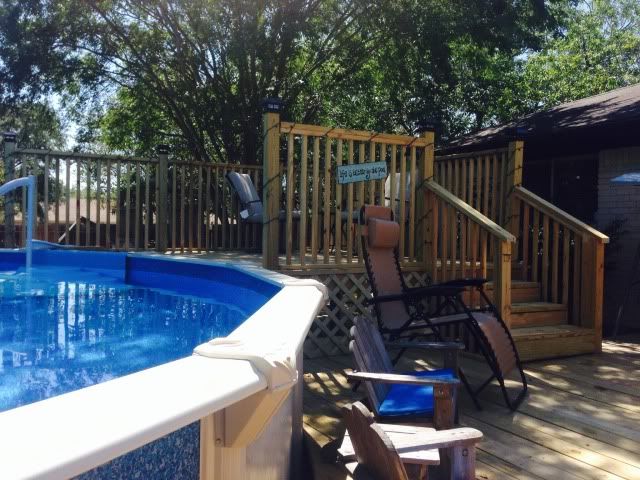
And kind of a cool panoramic shot of ALMOST the whole deck..... ;)
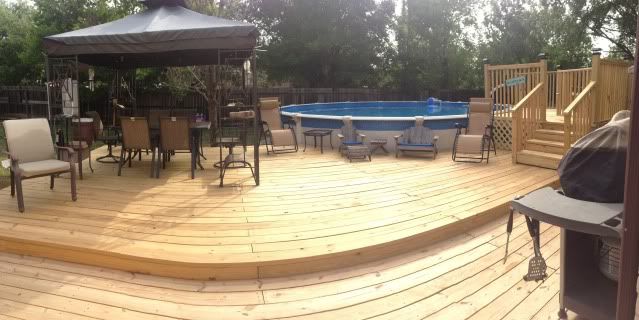
Soooooo nice, isn't it? I have two pretty crafty guys to pull this off. :)

No comments:
Post a Comment