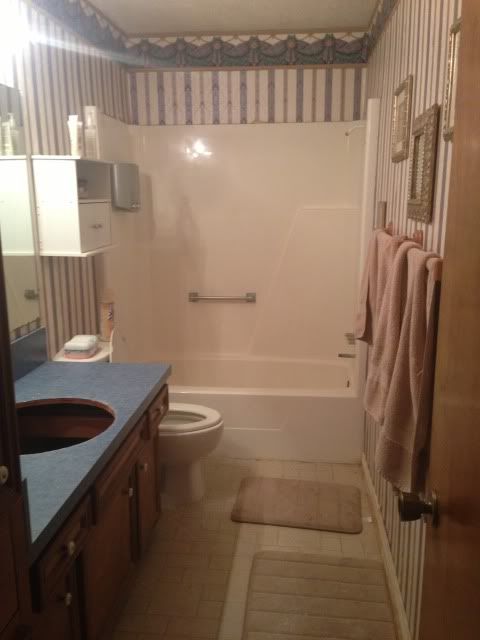
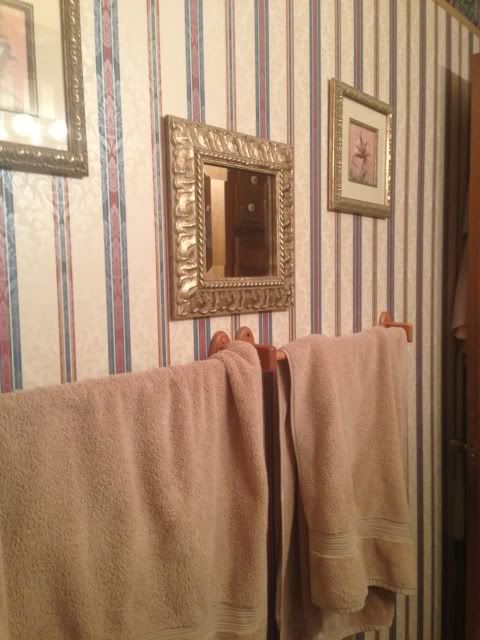
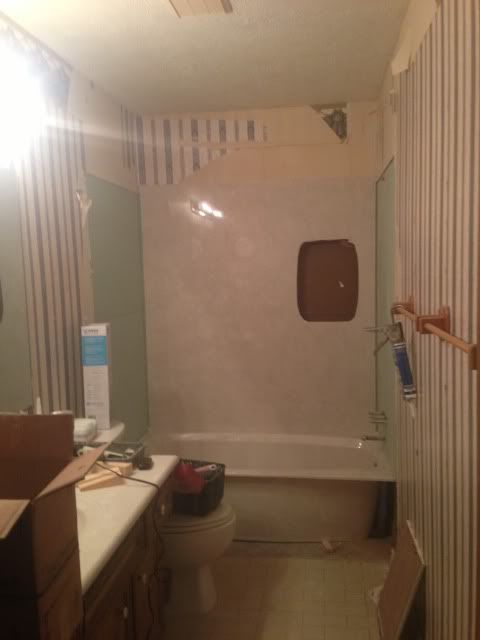
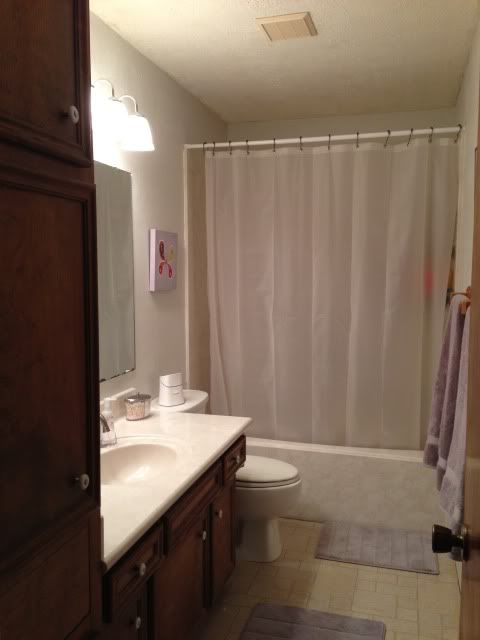
We have always HATED our hall bathroom. The wallpaper was so awful, not to mention peeling in a horrible way. The tub 'paint' was peeling as well and it was all just downright gross. So it was definitely on the first to-do list to get done.
A before (with the exception of the sink and faucets that Brad had already removed in prep) -
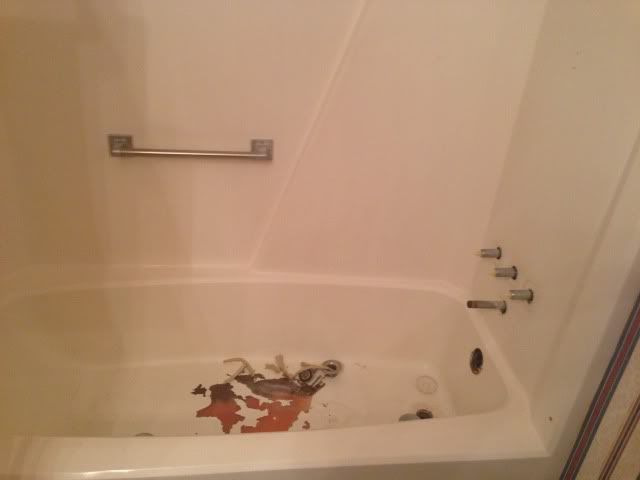
Peeling tub....gross.
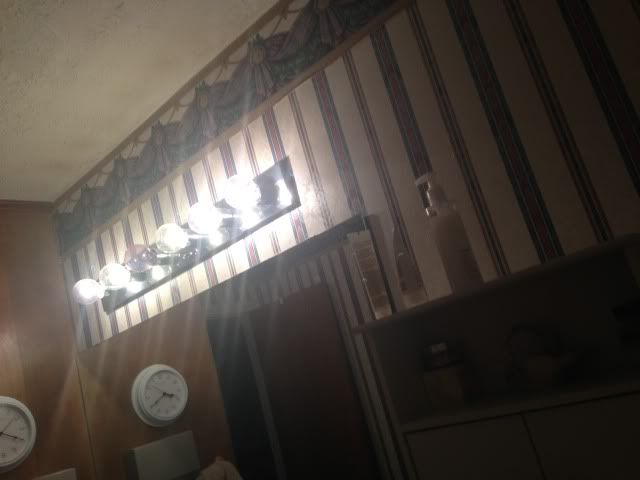
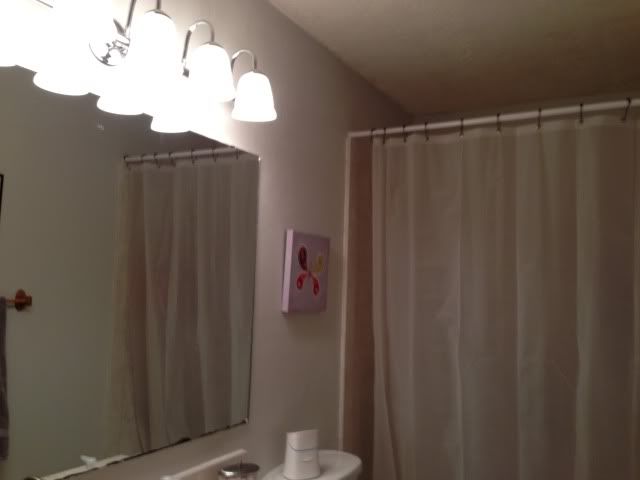
Fabulous Hollywood light fixture. Nice... (notice the lovely wallpaper and border too!..what were these people thinking?!?!)
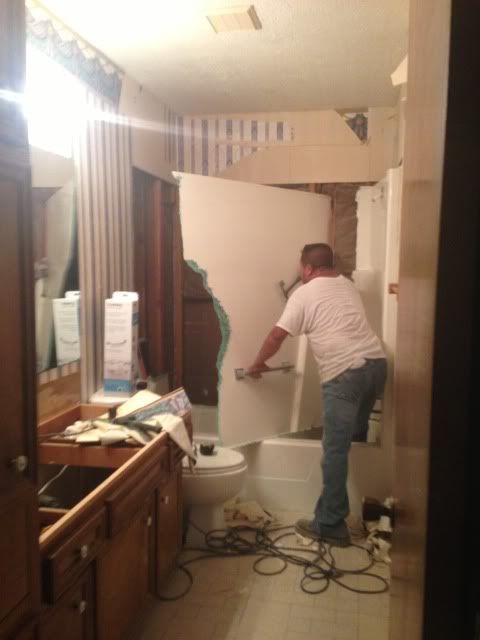
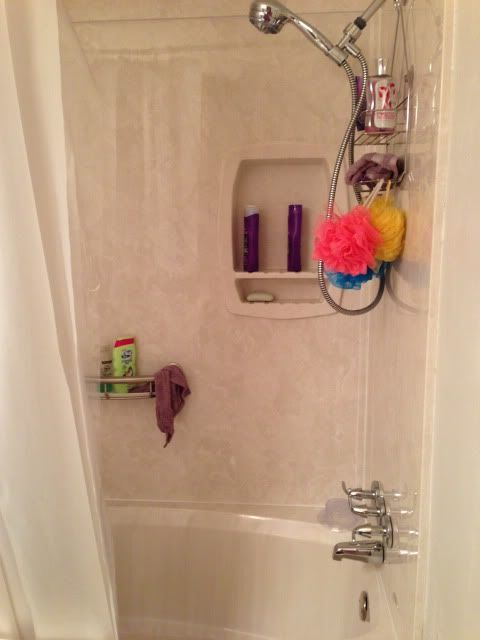
First, we had a company come in and replace the bathtub/shower and countertops. Had to do over again, I probabl
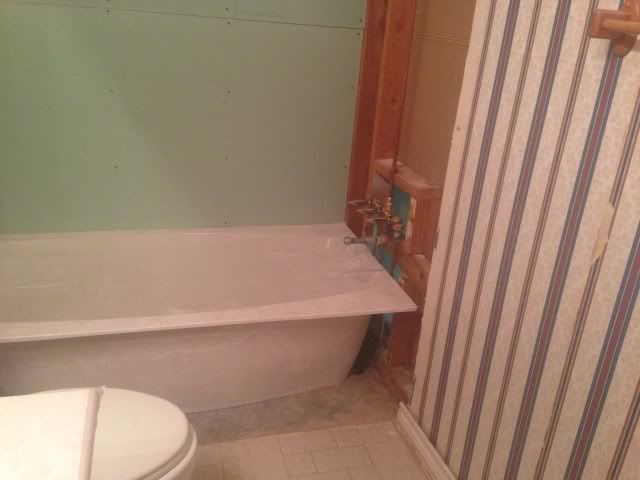
y would've done the wallpaper removal first...*shrugs*. I was thinking I wanted to paint after they came in, but wasn't thinking I could've taken the wallpaper off first, leave it till they were done. Anyway...whatever. No biggie. So, they came in, and similar to when we redid our master bathroom...they removed the old tub (sledge hammering away all morning) and countertops, then put the new tub in. Overnight, Brad hooked up the plumbing (the only part they don't do), and they came back the next day to put the shower walls in and do all the sealing. So nice. Seriously. Best part...a new tub! Ahhhh.....
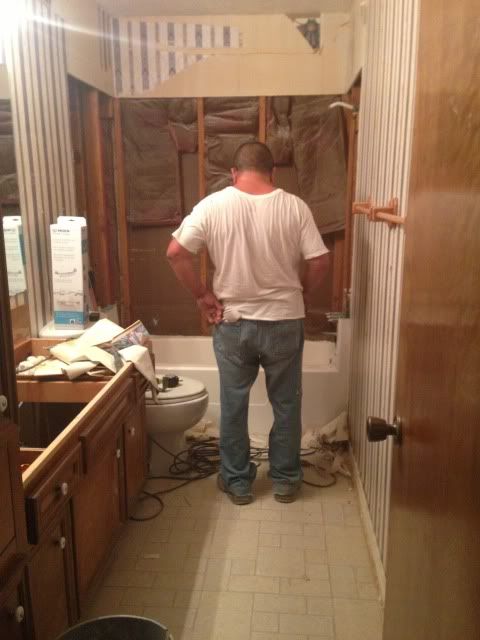
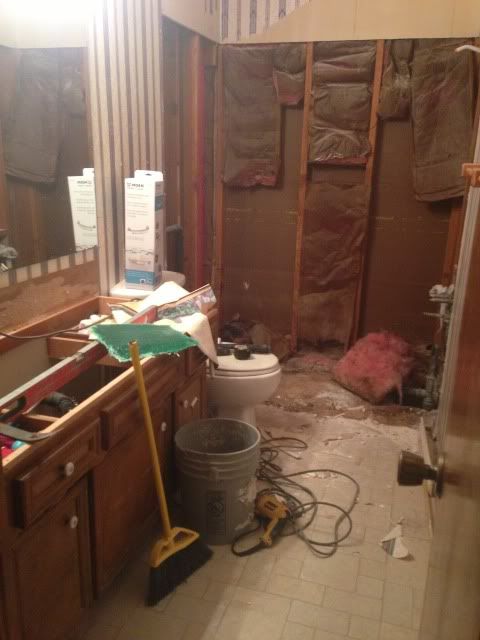
Out with the old...
A funny side...when they tore out the sheetrock next to the tub, they found a plunger inside the wall! Ha! And for all I know...they may've left it inside the wall when they re-sheetrocked. :P
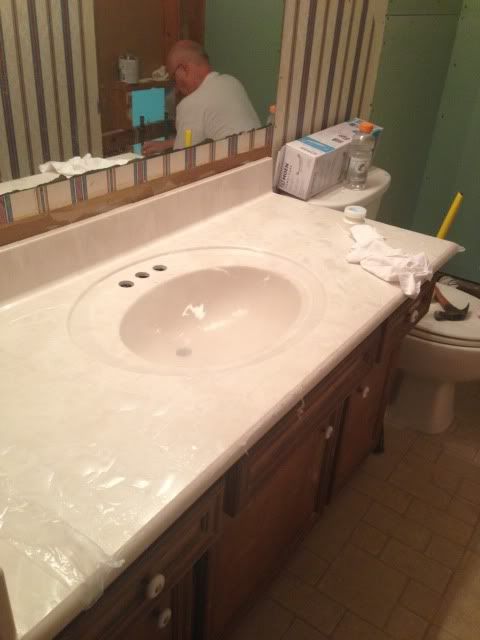
New countertop - done!
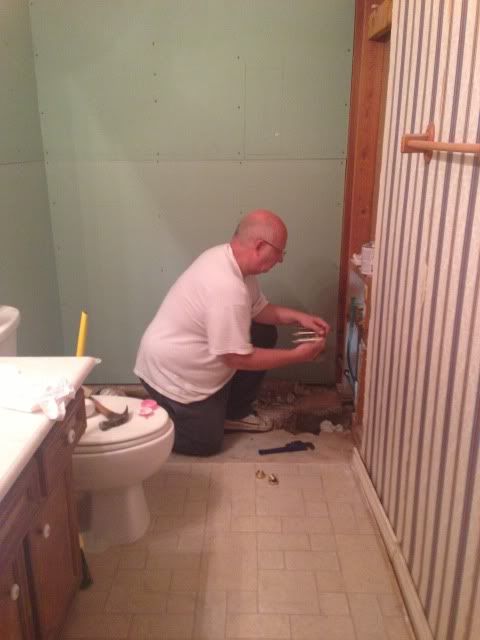
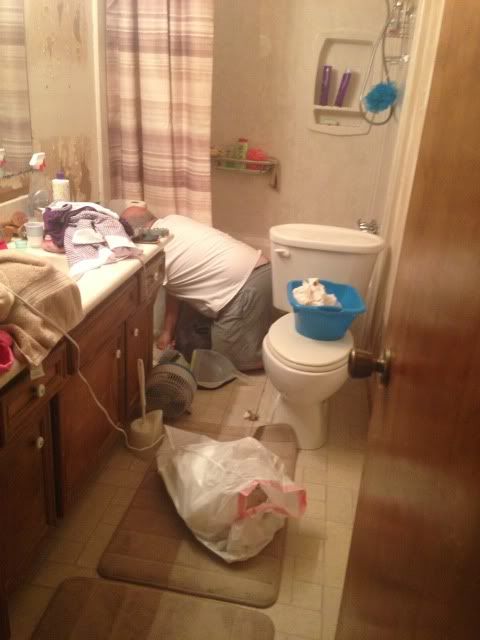
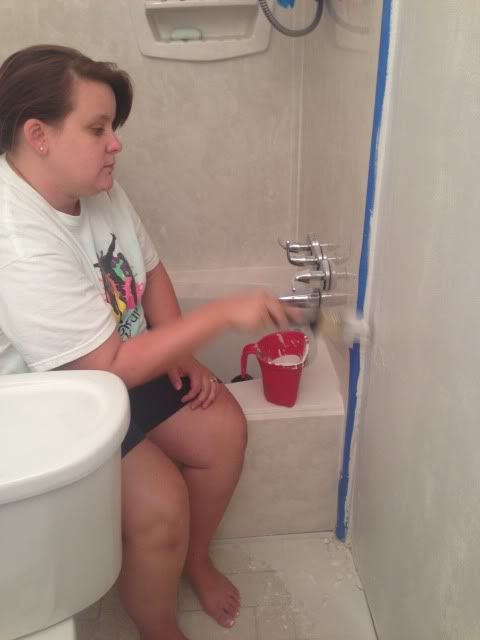
Sheetrock up and Brad doing the plumbing work...
In with the new -
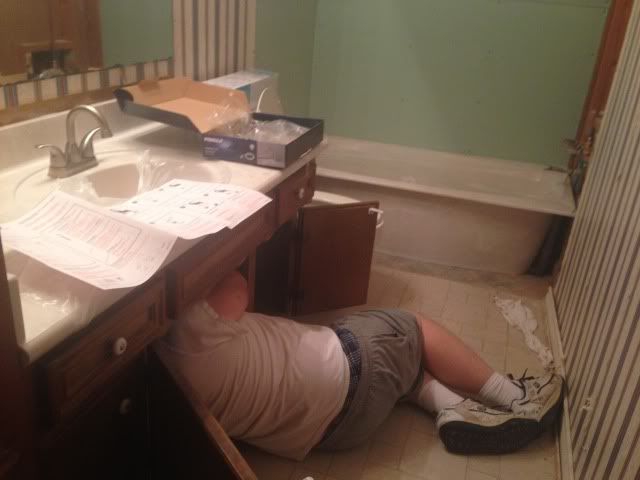
Brad hooking up sink plumbing and installing new faucets...
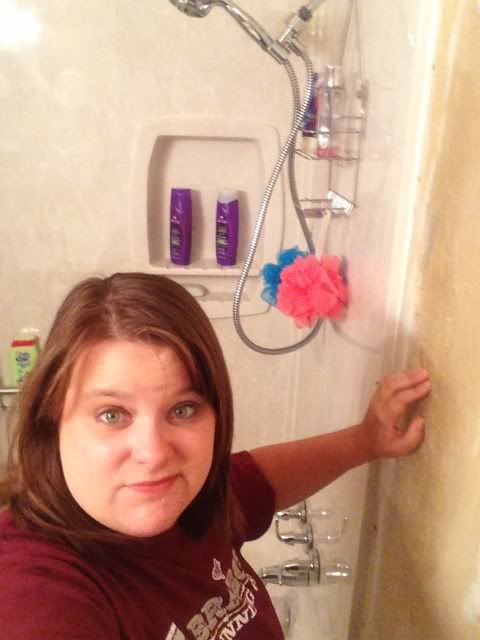
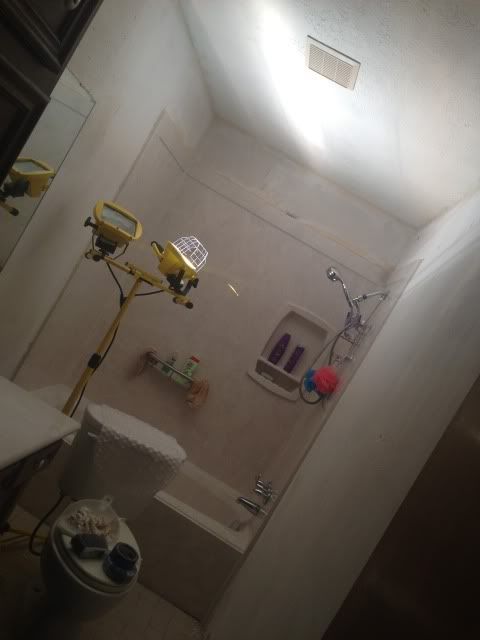
Shower walls going up (with cut out for soap holder they indent)...
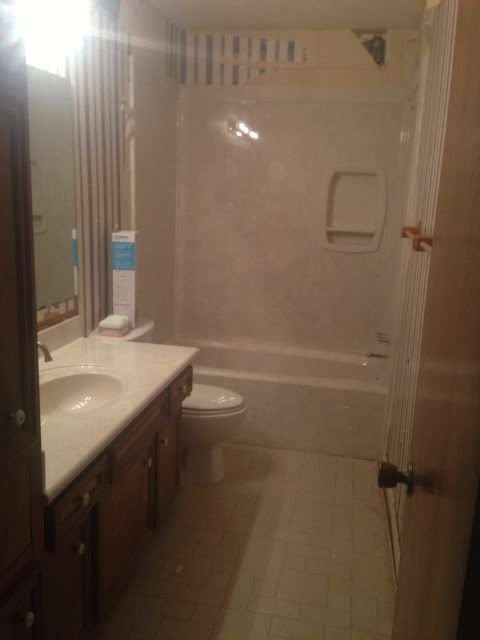
And voila! New countertops and tub/shower... ahhhhh!
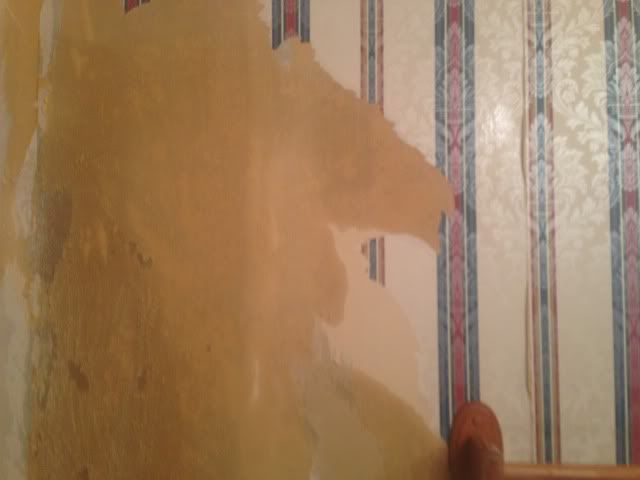
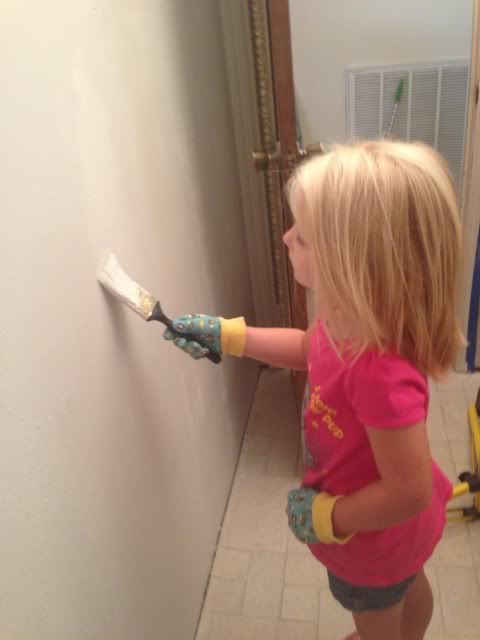
Next up, I was dreading taking the wallpaper off and had soooo many people tell me, 'just paint over it', but I promise..it was beyond that. It was peeling in such a way that there was no painting over it. Most of it as we started taking it off, peeled straight in half. Leaving the bottom (sticky part) of the wallpaper on the wall and the top layer (of color) peeled off. However, the other part that the whole wallpaper sheet came off (and border. Ugh. told you it was U-G-L-Y!) also took part of the sheetrock with it. It was a mess! Lucky, I had some help. :)
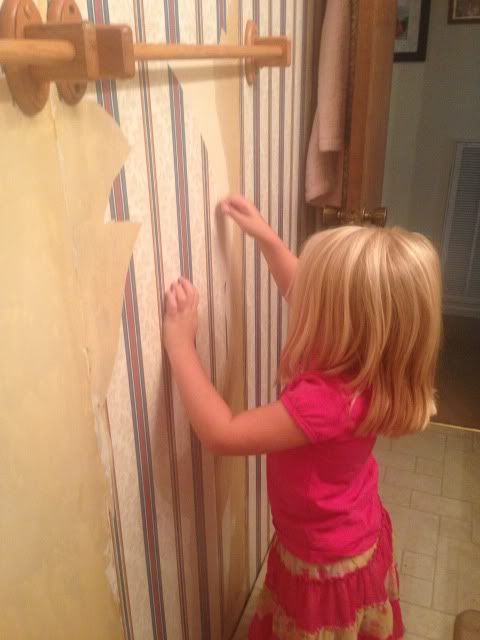
Yes, Brad's mom came over and helped peel. So thankful! It went pretty fast having so many helpers! And actually Brenna was a great help..and even Brooke too! They'd switch off. ;)
Mostly done...
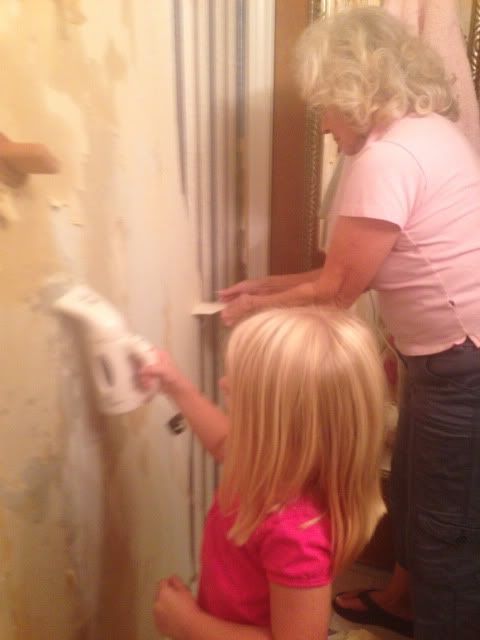
I said, mostly, ...because then Brad had to pull toilet out to get behind there and pull off the wallpaper. Once we did, we found a hole in the wall underneath the wallpaper. Gah! Who wallpapers over a hole?!?!? Anyway...no pics of that too much...but that lead to Brad having to sheetrock over it and caulk it up. Sigh!
And you can really see (above his head it that above picture) how the wall started peeling off too - not just the wallpaper. It was awful, y'all...
We tried to sand it to smooth out the edges where the difference was. But, ugh...
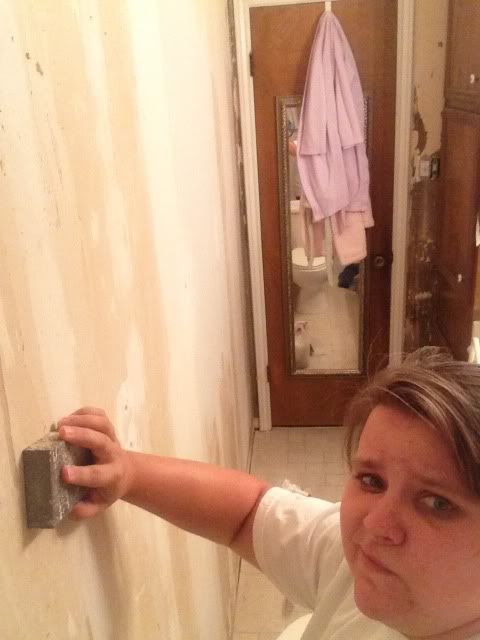
Anyway. So because of all that peeling and sheetrock work...we had some parts of the wall with texture, some with peeling, some with nothing. So we had to go back in and mud the whole bathroom to create uniformity and to help with the peeling! Brad had a good system that worked well of using a roller to roll on joint compound. Created the perfect amount of texture. Afterwards, though, we still had to sand it some so it wasn't "pokey", as Brenna would say. :P After sanding, I looked like a ghost..
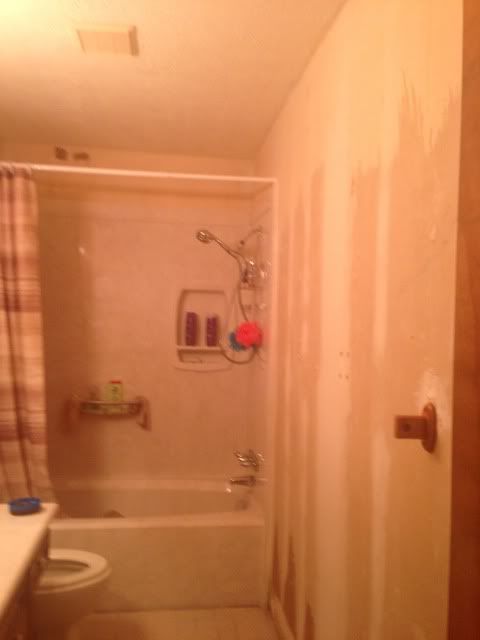
Getting there... (yes, we took down light fixture to remove wallpaper and paint)...Hollywood is gone!
Then the painting began. I wanted a light gray color, stainless steel ish, but lighter. My idea was to have teal colored towels then. I was just going for a nice clean simple look, as opposed to what we had lived with in that bathroom before of busy wallpaper and shapes everywhere!
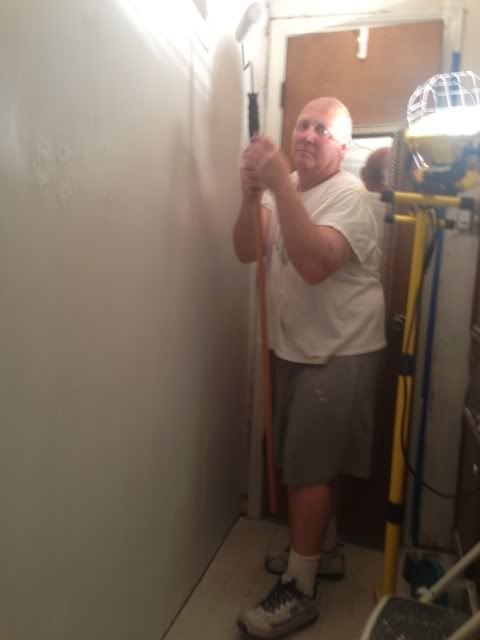
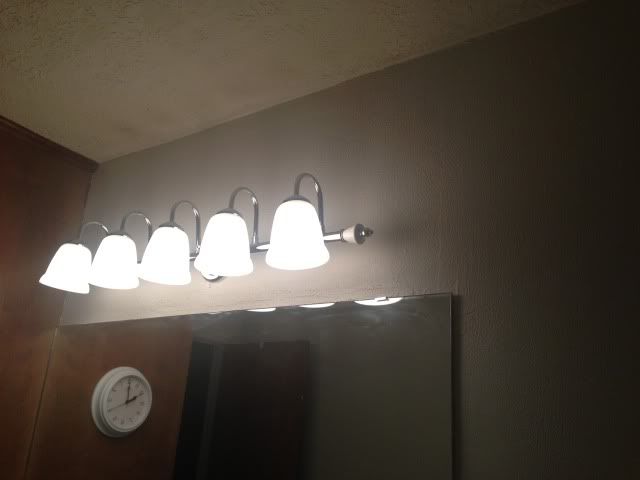
After 3 coats of paint plus primer (we skipped the Kilz since we mudded the whole room, but did get the paint and primer in one), Brad put in new light fixture...
We have plans for the mirror too to frame it. But I've come to the realization that its not happening anytime soon, so again...going ahead and showing pictures. Added some new towels (went away from my teal color as it made the walls look blue instead of gray) and floor mats and new pictures and voila!
So, all done! (for the most part. Like I said...new floors coming soon hopefully framing the mirror. But done otherwise!) Again, here's the before....
And the after!
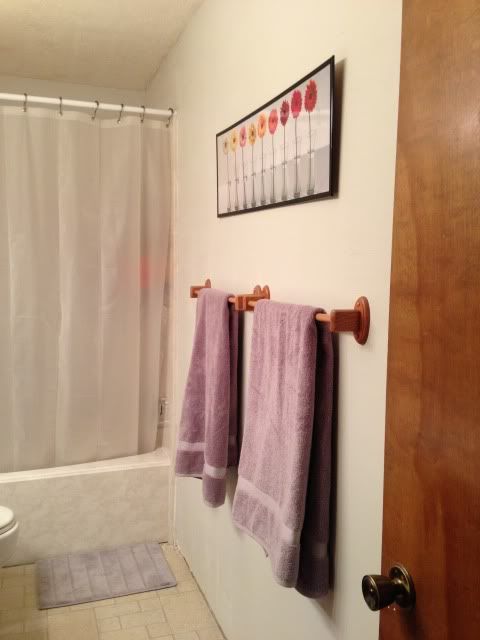

So, whatcha think? Not too bad, eh? We did think about replacing towel bars to have a stainless steel look too, but it tied in the still wooden cabinet. We also considered painting the wooden cabinet, but ugh..... no. They're fine. :P The rest? Well, it was a lot of work re-doing the walls mainly, but sooo worth it in the end! I love how new and clean it feels. :)

No comments:
Post a Comment